SpreadsheetConverter adds a new ribbon to the Excel menu. This is the online help page for that ribbon menu.
After you have installed SpreadsheetConverter, a new ribbon or menu appears in Excel.

This page describes the new layout of the ribbon menu for SpreadsheetConverter version 10 and later. If you are using an older version, please read the help page for version 9.
If there is no SpreadsheetConverter entry in your Excel menu, please follow these troubleshooting instructions.
When you click on the link, the ribbon shows you many of the controls you need to operate SpreadsheetConverter.
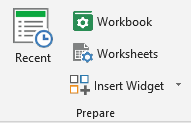
The Prepare section is where you do most of your work before the conversion.
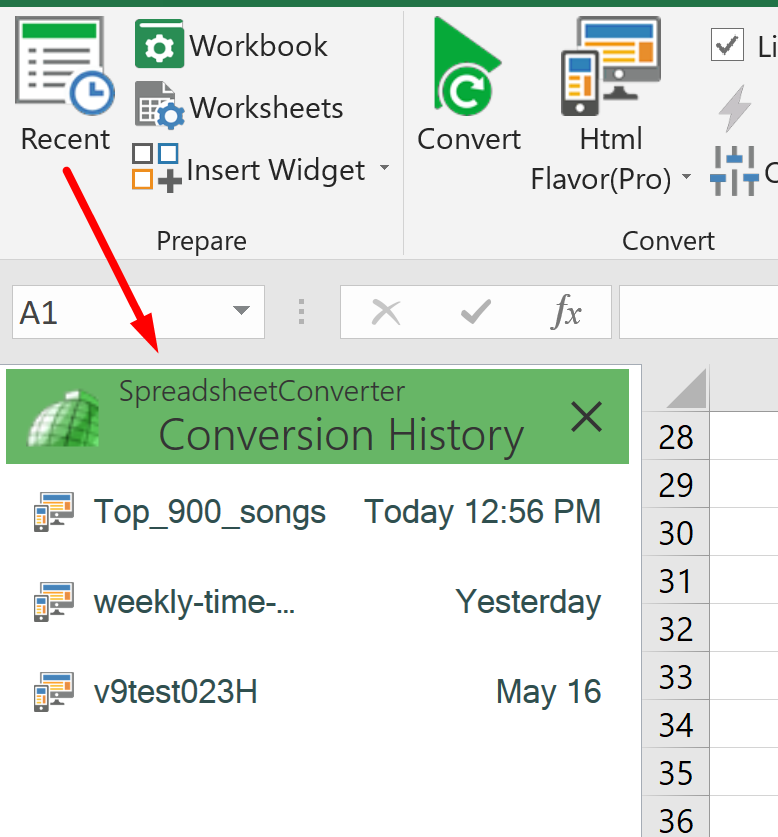
The Recent file list makes it easy to open or share a recently converted web page. The most recently converted web page is at the top of the list. To the left of the filename is an icon that tells you what flavor was used to create it, i.e. its conversion output format. The timestamp tells you when the file was converted.
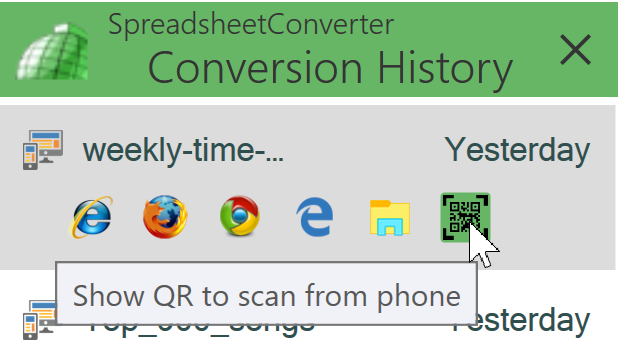
If you hover your mouse pointer over a file in the list, you will see browser icons.
There is a video tutorial for the History List in version 8.
Clicking on the shortcuts opens the Workbook or Worksheets tabs of the task pane. If the currently selected cell in Excel does not already contain a widget, you can insert a widget into the current cell.
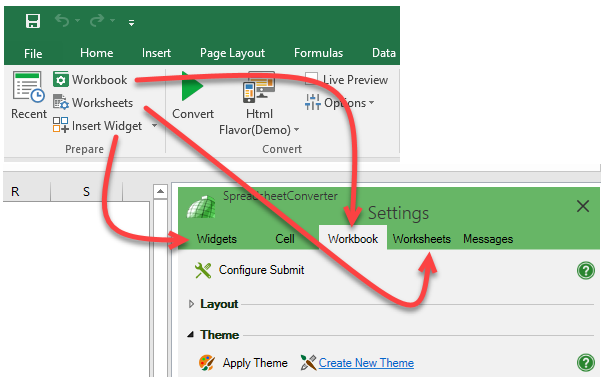
If there is already a widget in the current cell, the Insert Widget button changes into Edit widget to let you access the widget’s settings directly from the ribbon.
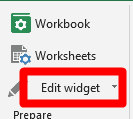
The settings for worksheet-level widgets like Hide Rows/Sheets and Responsive Blocks are always accessible directly from the ribbon.
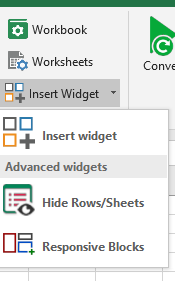
Use the Convert section of the ribbon to select what flavor to use for the conversion, i.e. what format to use for the converted web page. All licenses include the ability to generate standard cross-platform responsive HTML output. You can also buy a license for other flavors.
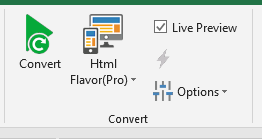
Select Live Preview to initiate an automatic conversion of the spreadsheet every time you save it in Excel.
Press Convert to convert the current spreadsheet to a live, calculating web page. There is a tutorial to guide you through your first conversion. If Live Preview is active, a new conversion will automatically be initiated every time you press Save in Excel, updating all preview windows that are connected to the editing session in Excel.
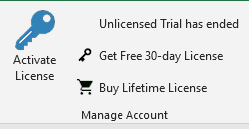
We offer you a free 7-day test of SpreadsheetConverter with access to all flavors in a limited, “demo” mode. You can also request a free 30-day trial license.
After the trial period has ended, unlicensed flavors will no longer appear in the list. If you need a particular flavor, ensure you have a license key for it and that you have activated this license key under Activate License in the Manage Account section of the ribbon. There is an online Help page for license registration.
Note that changing the flavor may affect other settings, e.g. for layout and formatting, and that some widgets may only be relevant in certain flavors.
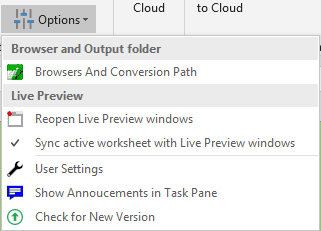
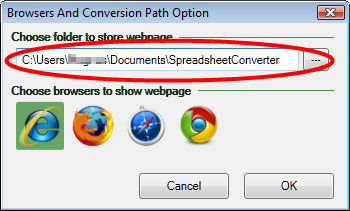
When you activate Live Preview in the development workstation, it opens a preview window in each browser selected for Instant Testing above. If you accidentally close or can’t find one of these predefined preview windows in the development workstation, click Reopen Live Preview Windows to have them all opened again.
![]()
Select Sync active worksheet with Live Preview windows to have the preview windows follow the tab you are currently working on Excel. Example: if you select the Shipping tab of the spreadsheet in Excel, this tab will also become visible in all the preview windows.
The User Settings are available in version 9 and later. Read more on the help page for the user settings.
The announcements in the Notification Center help us communicate new features to you without the use of e-mails, blogs or newsletters. Read more about the Notification Center and how to use it.
Before you report any technical problems to us, please ensure that you are using the latest version of the add-in. Otherwise, you may be reporting a problem that has already been fixed. The Check for New Version menu selection will automatically verify the version you have installed, and help you apply any updates.
The Test section lets you upload the converted web page to the cloud for testing. You get a fully functional web link that works for 7 days. Send it to anyone in the world to let them test your calculator or web form. If you don’t have a paid license for SpreadsheetConverter, you can only use Test links. There is a Help page for Test and Production upload to cloud.
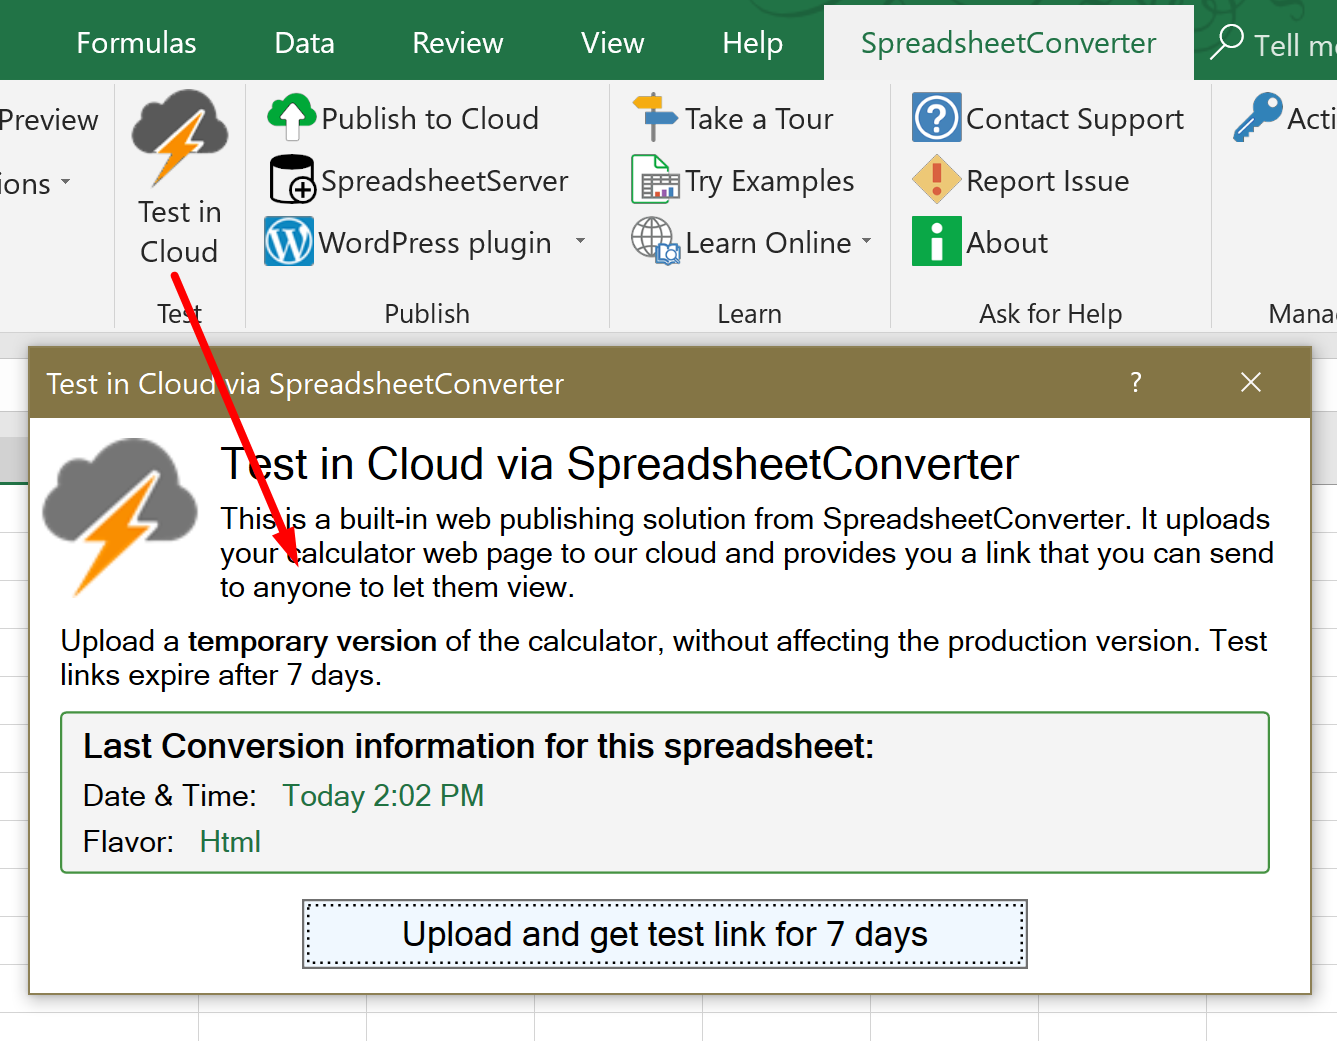
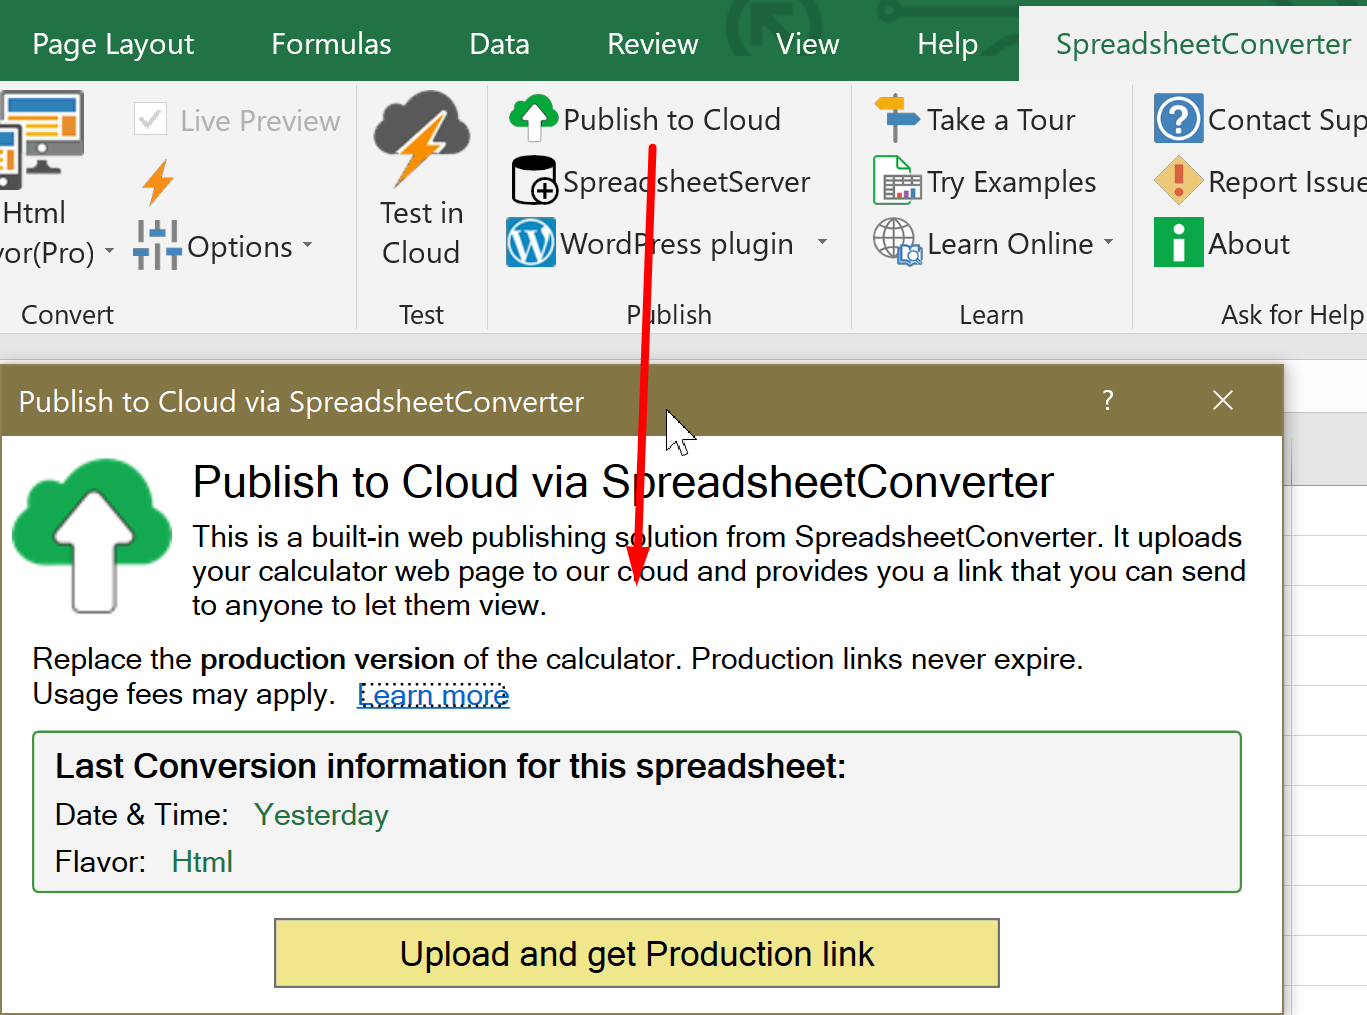
The Publish section of the ribbon helps you publish the converted web page on various external servers. You must convert your spreadsheet before you can share the converted web page.
The choices available depend on what flavor you use, so you may not see all the below in your particular setup.
When testing is complete and you want to activate the new version of the web page as the live Production version, simply select Publish to Cloud to replace the Production version instead. The basic ability to create production links is included in all paid licenses. Production links are always the same, every time you upload the same spreadsheet, and never expire. There is a Help page for Test and Production upload to cloud.
Some flavors include a WordPress plugin which makes it much easier to upload your calculator to WordPress using a plugin.
If you use another content management system, check if there is a shortcut to an integration document for your specific CMS on our website.
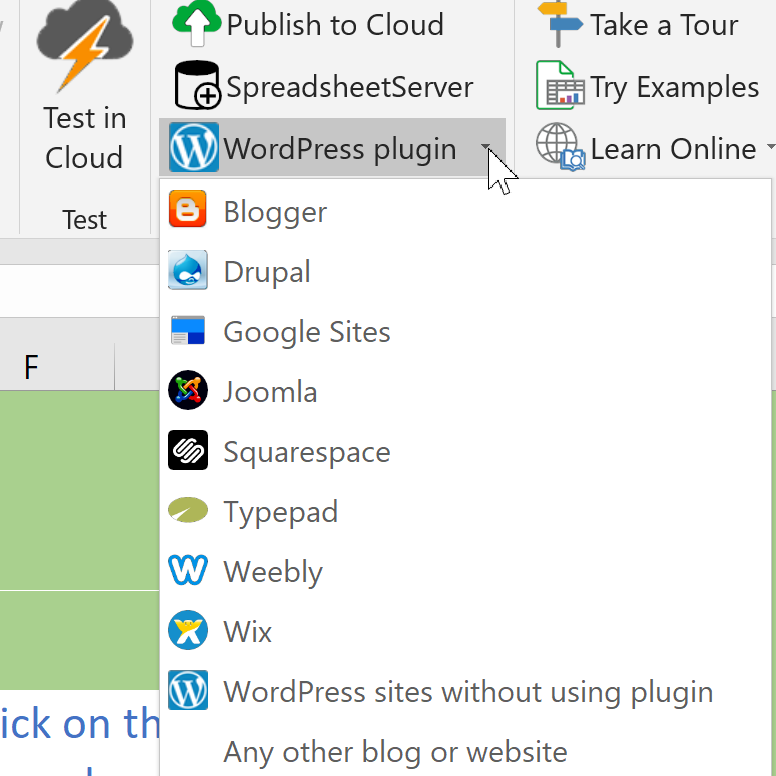
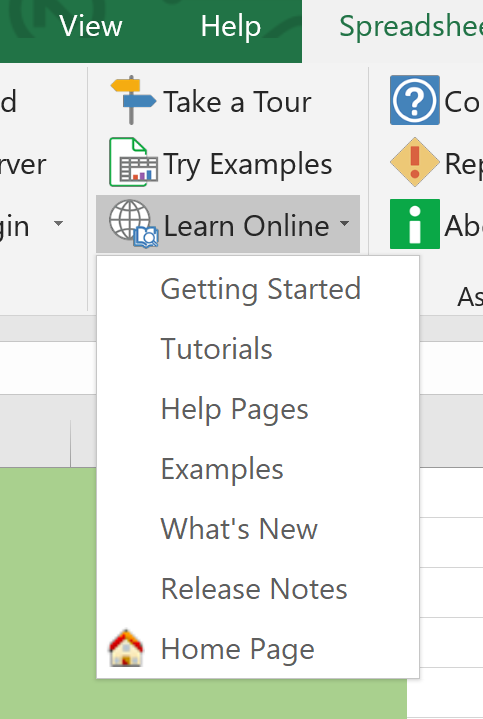
Use the Learn section of the ribbon to gain knowledge and research any problems you might have.
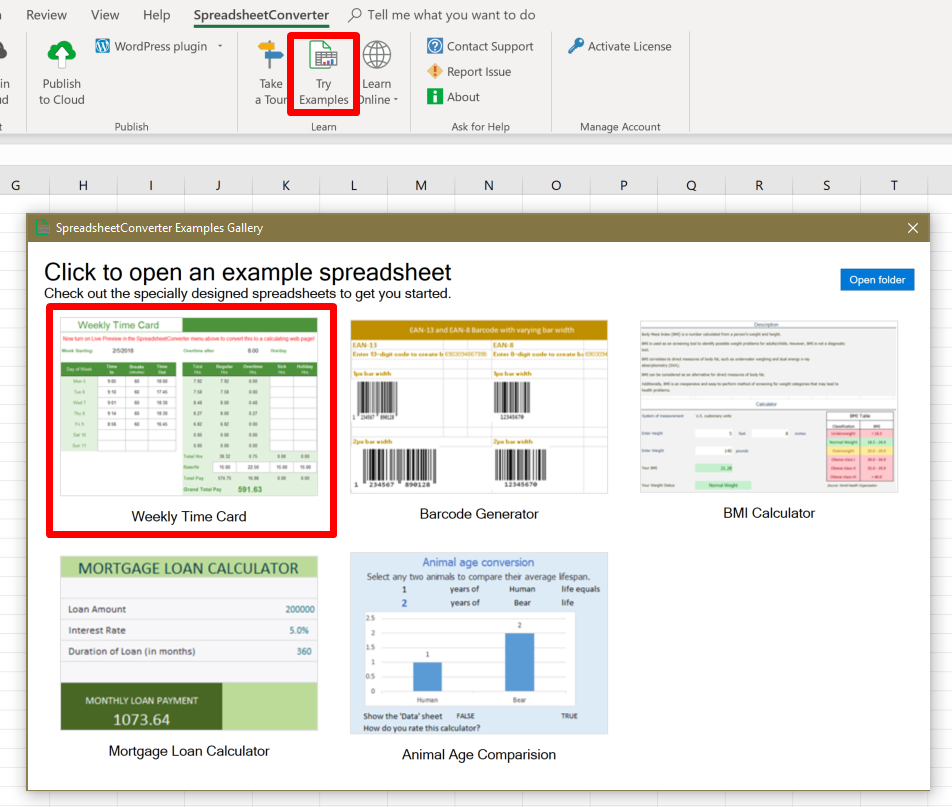
SpreadsheetConverter installs a few examples on your local disk. You can open and test these examples using the Try Examples link in the ribbon.
Press Convert to see what each example looks like as a web page!
Use Contact Support to open the Contact Support form on the website. This is mainly useful when you want to ask questions.
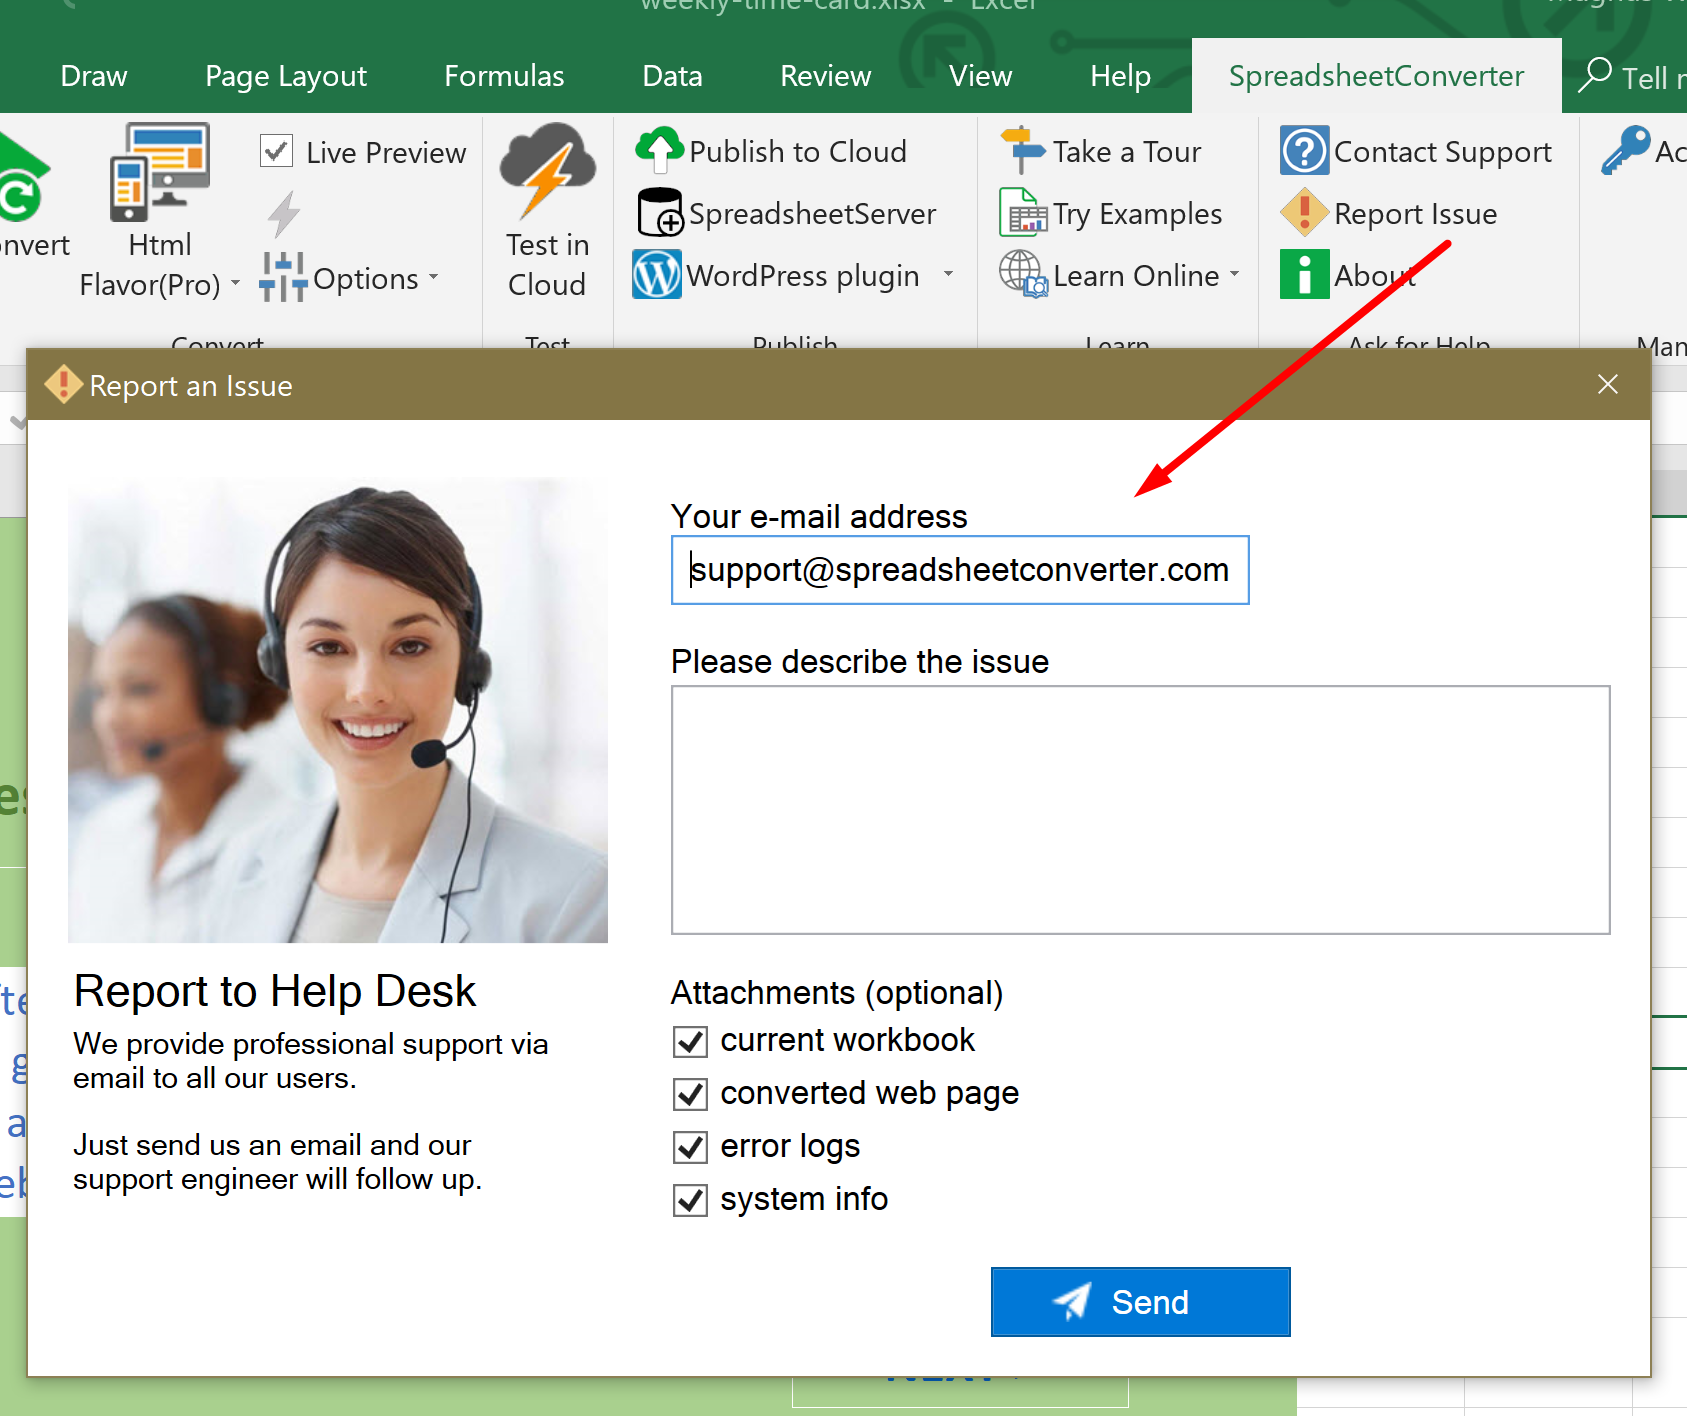
If you want to report a problem, use Report issue instead.
If you have a problem, use this reporting feature to request help. Adding lots of troubleshooting information is very easy thanks to the convenient checkboxes.
Open the About box to see the currently installed version number. A convenient copy button makes it easy to paste the version number into any question or problem report you send us. The About box also tells you if there is a later version available on the website.
Use the Manage account section of the ribbon to register license keys. For upgrades, you may need to register old license keys as well.
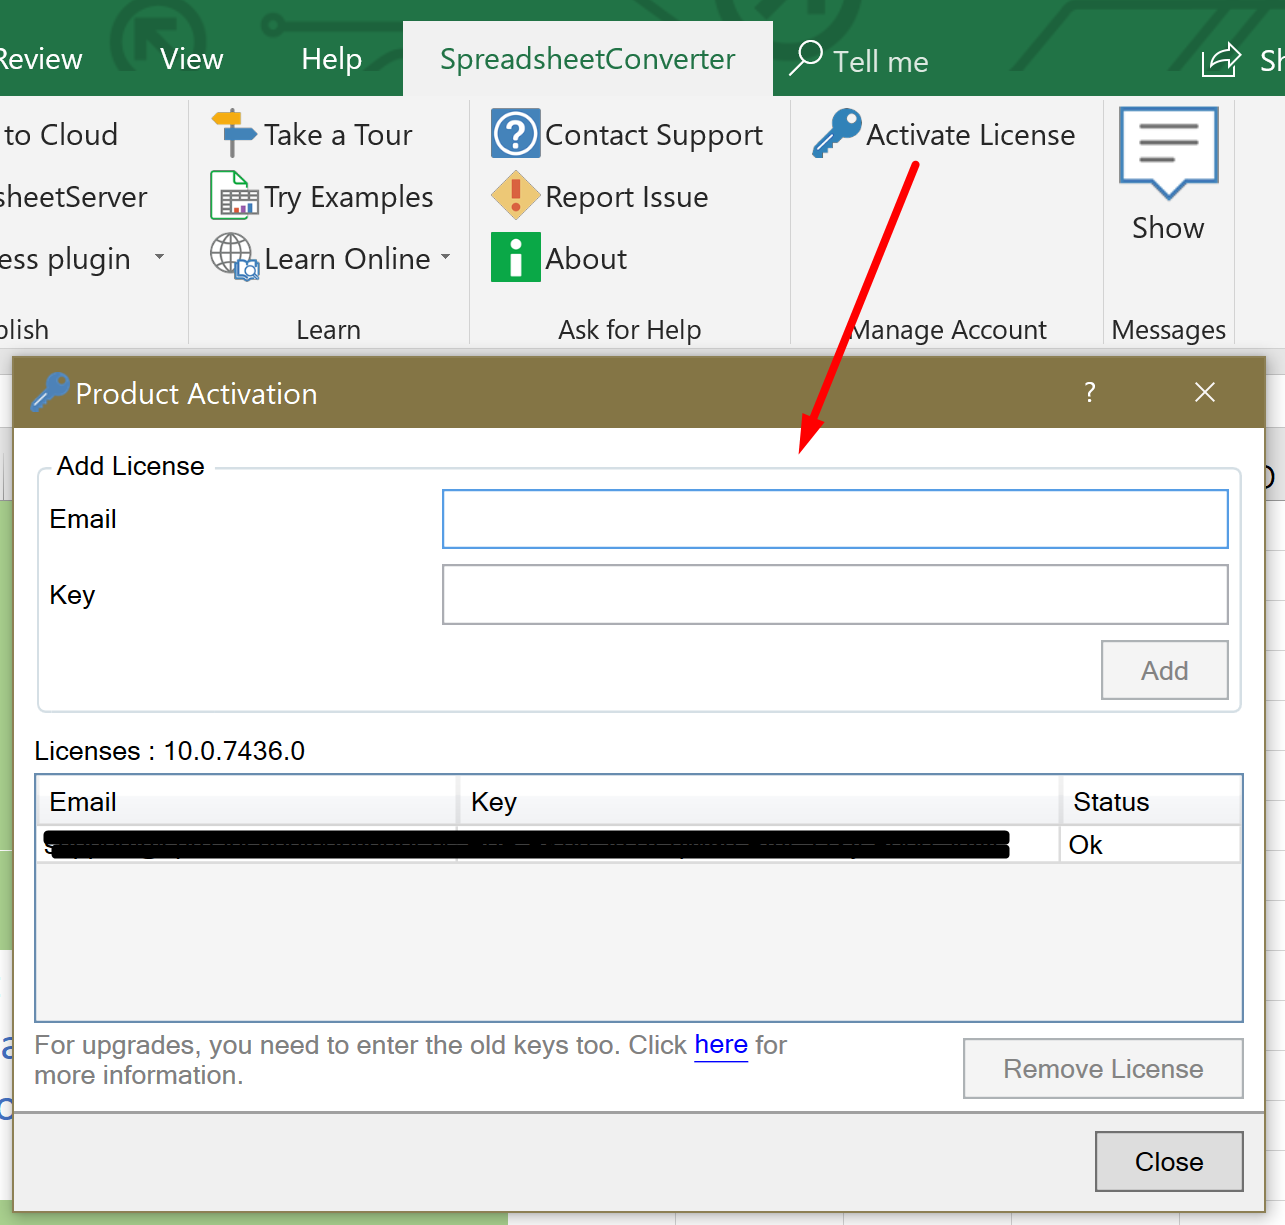
If your flavor is unlicensed, this section instead contains links to get a free 30-day evaluation license or buy a lifetime license for the current version.
