The Excel menu contains a separate ribbon for SpreadsheetConverter. This is the online help page for that ribbon menu.
After you have installed SpreadsheetConverter, a new ribbon or menu appears in Excel.
![]()
This page describes the ribbon menu for SpreadsheetConverter version 9. If you are using a later version, please read the updated help page for version 10 and later.
If there is no SpreadsheetConverter entry in your Excel menu, please follow these troubleshooting instructions.
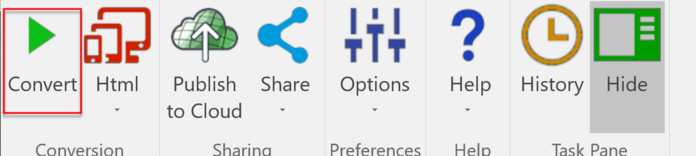
Use the Conversion section of the ribbon to select what flavor to use for the conversion, i.e. what format to use for the converted web page.
After you’ve selected the right flavor, press Convert to convert the current spreadsheet to a live, calculating web page. There is a tutorial to guide you through your first conversion.
We offer you a free 7-day test of SpreadsheetConverter with access to all flavors in a limited, “demo” mode. You can also request a free 30-day trial license.
After the trial period has ended, unlicensed flavors will no longer appear in the list. If you need a particular flavor, ensure you have a license key for it and that you have activated this license key under Product Activation in the Help menu. There is an online Help page for license registration.
Note that changing the flavor may affect other settings, e.g. for layout and formatting, and some widgets are only relevant in certain flavors.
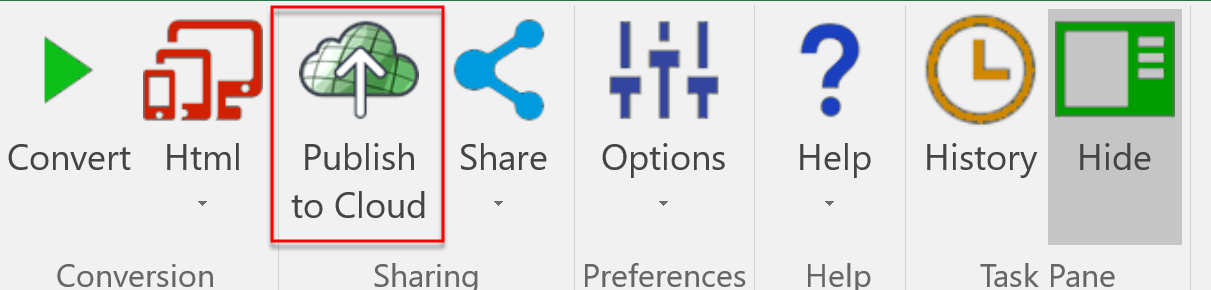
The Sharing section of the ribbon helps you publish the converted web page on various external servers. You must convert your spreadsheet before you can share the converted web page.
The choices available depend on what flavor you use, so you may not see all the below in your particular setup.
Publish to Cloud is a simple and very convenient way to publish your calculator on one of our web servers.
The Share menu contains different uploading tools depending on your flavor.
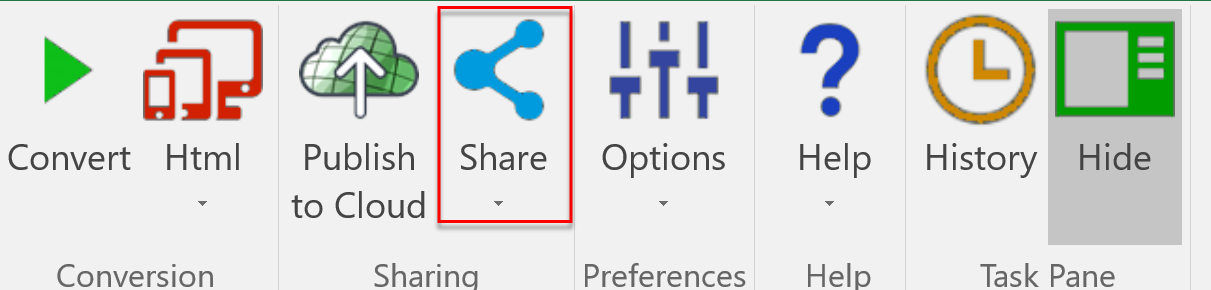
Some flavors include WordPress Share which makes it much easier to upload your calculator to WordPress using a plugin.
If you have a license for the Node.js flavor, the Quicknode Share service will upload your web page for testing on one of our Node.js servers. There is no charge but the web page is automatically deleted after seven days.
Older versions had a Dropbox Share feature to upload the converted web page for testing in a Dropbox account. Unfortunately, Dropbox has discontinued the ability to host web content.
The Preferences section of the ribbon contains various options and settings.

The User Settings are available in version 9 and later. Read more on the help page for the user settings.
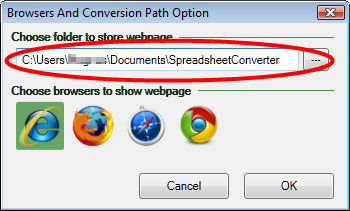
For the ASP.NET flavor, the converted web page must be copied to the location on the server where the Site is located. If this drive is available when you do the conversions, you can select the right location directly in the Choose folder to store webpage setting above.
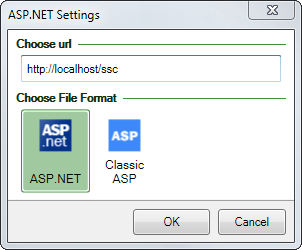
The Choose url setting should be set to match the address of the Site in IIS. For example, if the Site in IIS is configured to listen to port 8080 and the Site name is ‘ssc’ then the correct URL is http://localhost:8080/ssc.
Use the Choose File Format setting to specify whether you want the converted web page to be generated for ASP.Net or Classic ASP.
These menu choices can be found in version 8 and earlier versions. Read more on the help page for the advanced settings in version 8.
Follow this link to the license web shop where you can buy the licenses you need to activate the full power of the product. Learn more in the license tutorial.
Before you report any technical problems to us, please ensure that you are using the latest version of SpreadsheetConverter. Otherwise you may be reporting a problem that has already been fixed. The Check for New Version menu selection will automatically verify the version you have installed, and help you apply any updates.
The announcements in the Notification Center help us communicate new features to you without the use of e-mails, blogs or newsletters. Read more about the Notification Center and how to use it.
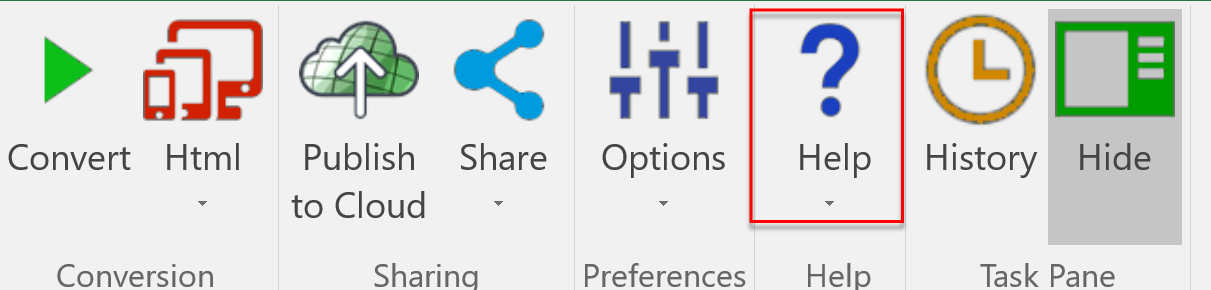
Use the Help menu to research any problems you might have.
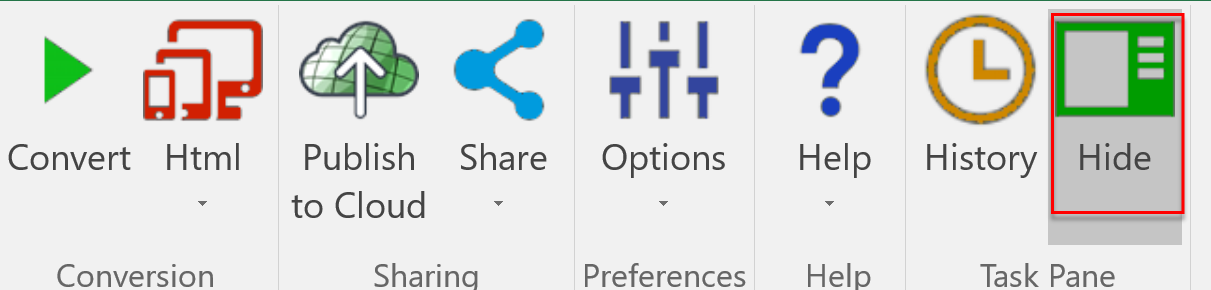
The task pane is a resizeable work area to the right of the spreadsheet you’re working with.
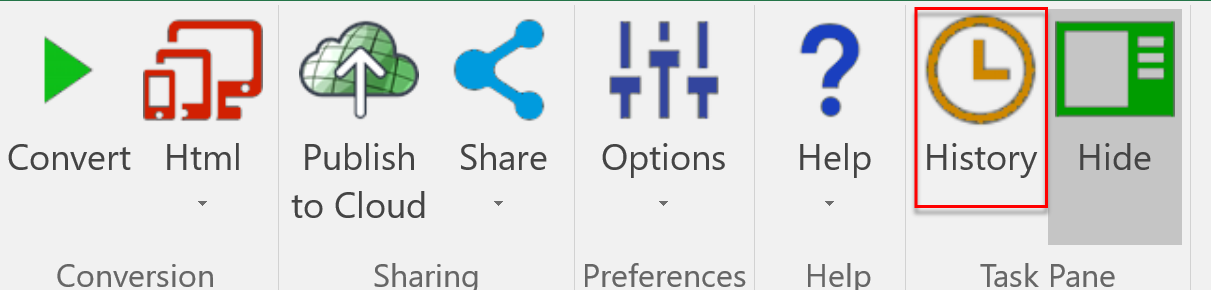
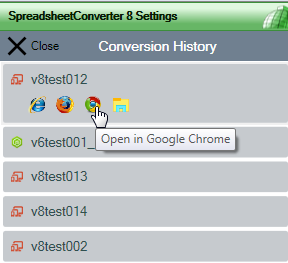
When the History List is shown in the task pane, it contains your most recently converted spreadsheets.
The most recently converted web page is at the top of the History list. To the left of the file name is an icon that tells you what flavor was used to create it, i.e. its output format. Using the buttons below the file name, you can open the web page in any of your web browsers, or in the Windows Explorer. You can also get a QR code for Instant Testing, and use the camera to scan the code to test a calculator in your smartphone.
There is a video tutorial for the History List in version 8.
The SpreadsheetConverter task pane is pretty wide and can occupy a significant portion of the screen in Excel. The Task Pane section of the SpreadsheetConverter menu allows you to Show the task pane when you need it and Hide it when it’s no longer needed.