SpreadsheetConverter offers you lots of basic graphical widgets that make your web page easier to use and to give it a better appearance. This is the online help page for these widgets.
This is an introduction to the use of widgets in spreadsheets to improve the functionality and appearance of the converted web page. If you haven’t used widgets before, you may want to read the Introduction to using widgets before you continue.
Be aware that most of these widgets have no corresponding representation when used in Excel. Some of them are unfortunately totally invisible in Excel. You have to convert the spreadsheet to web format to see the widget in action.
This page describes the widgets available in the HTML and Node.js flavors. There is a similar page describing the widgets in the iPhone/Android flavor.
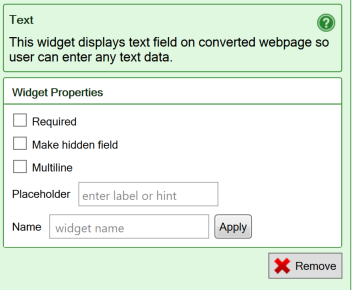
Text fields are mainly used in electronic forms to mark the fields where the user will enter data that is not used in calculations, e.g. a name or an address. You insert a Text field widget by clicking the Text widget in the Widgets tab in the task pane.

You can set different properties for the Text field:
Some of our tutorials partly focus on the Text widget:
One of the most common and also most complex data validations is to verify that e-mail addresses are correctly written, e.g. that there is only one @ sign, that there is text on both sides of each period etc. The syntax rules for an e-mail address are far too complex to be handled with Excel Data Validation or Excel formulas.
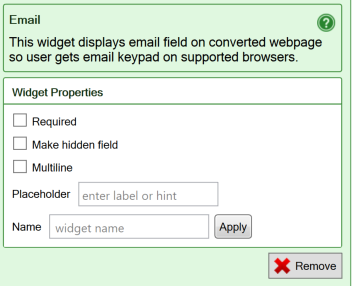
Instead, use the E-mail widget which is a standard text field with built-in validation of e-mail addresses. The field must either be empty or contain a valid e-mail address. If the e-mail address has an incorrect syntax, or if the field is empty but set as Required, the field is considered in error and the form cannot be submitted. This reduces the risk that you receive forms with missing or incorrect e-mail addresses.
The widget only validates the character string in the field; there is no live or online validation that the provided e-mail address actually exists or that someone reads the e-mails sent to it.

The properties for the Email widget are the same as for the Text field:
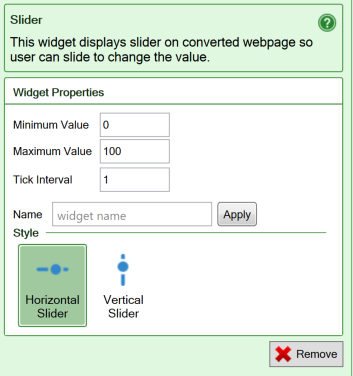
A Slider allows the user to select a value by moving a handle to a particular position on the widget. Sliders are real-time and cause the entire spreadsheet to be continuously recalculated with each new value of the slider as you move it.
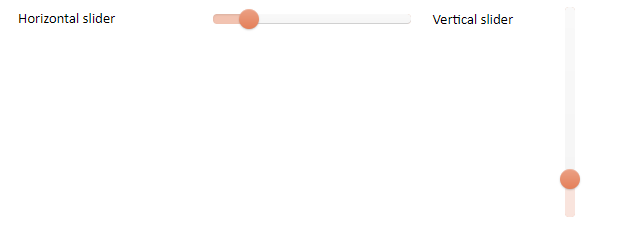
You insert a Slider widget by clicking the Horizontal Slider widget (value increases from left to right) or Vertical Slider widget (value increases from bottom to top) in the Widgets tab in the task pane.
Some of our tutorials partly focus on the Slider widget:
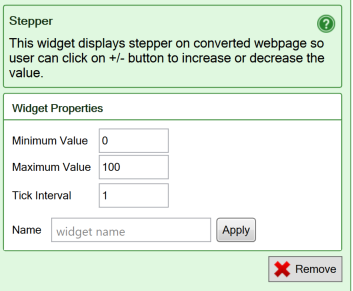
The Stepper widget allows you to easily input small numeric values with just a tap or click on a button.
The worksheet is re-evaluated for each new value, making this a very useful widget when the user is trying to find an optimum value.

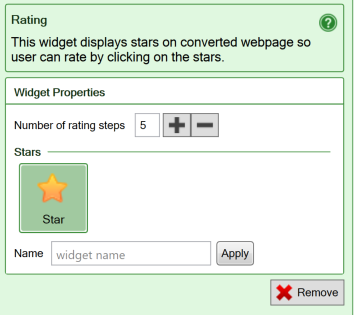
Ratings widgets are used to rate, or grade, an experience or a product with symbols like stars. It’s an effective way of expressing one’s opinion about something.

You insert a Ratings widget by clicking the Ratings widget in the Widgets tab in the task pane.
Calendar widgets make it much easier for the user to pick the right date. It also makes it easier to count from one date to another. The widgets ensure that any date picked from the calendar is valid, and formats it correctly for the recipient of the electronic web form using the regional settings.
Save all relevant image links in your spreadsheet or create formulas that can build the right image link dynamically from user input.
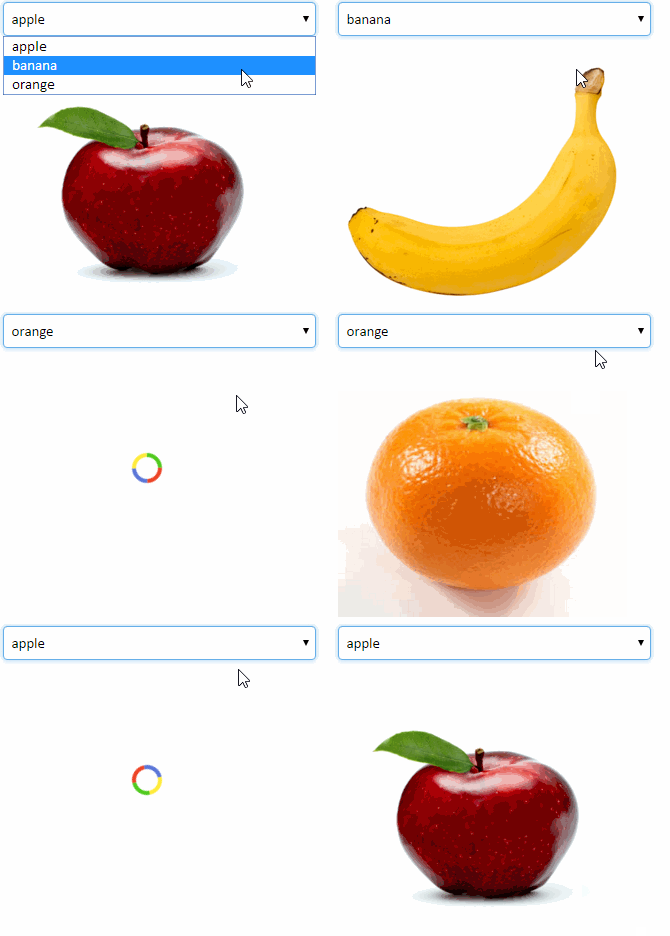
Use the Link Image widget to select the image that is shown.
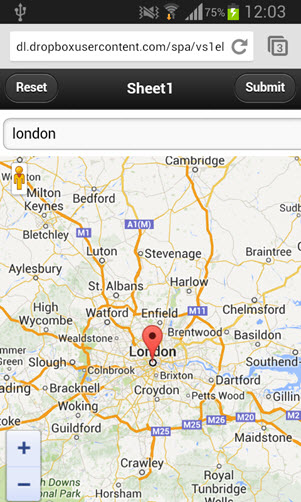
The Google Map widget allows you to use interactive maps in the converted web page.
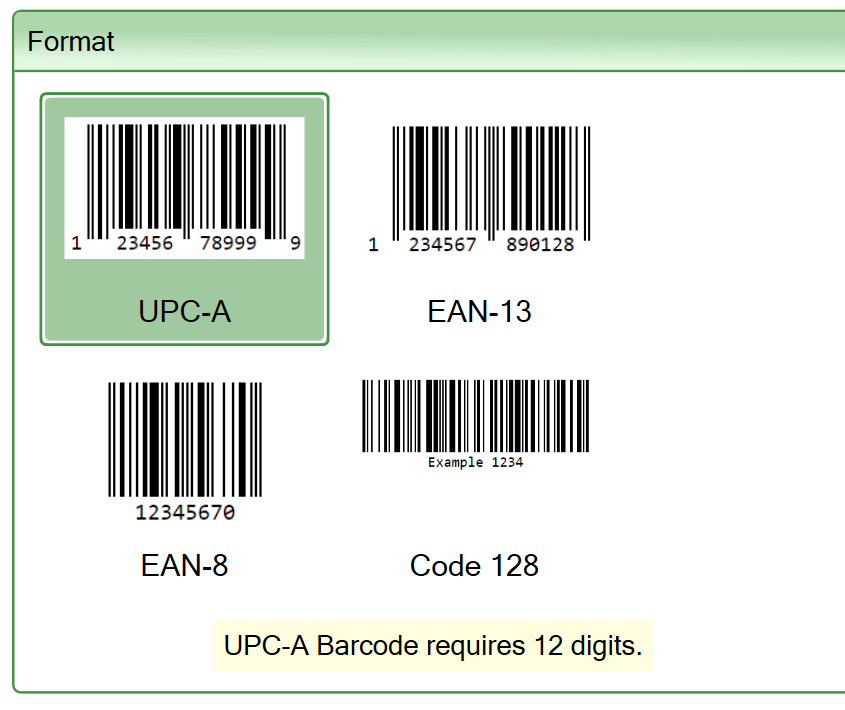
Use the barcode widget to display a barcode from static or calculated content in your web form.
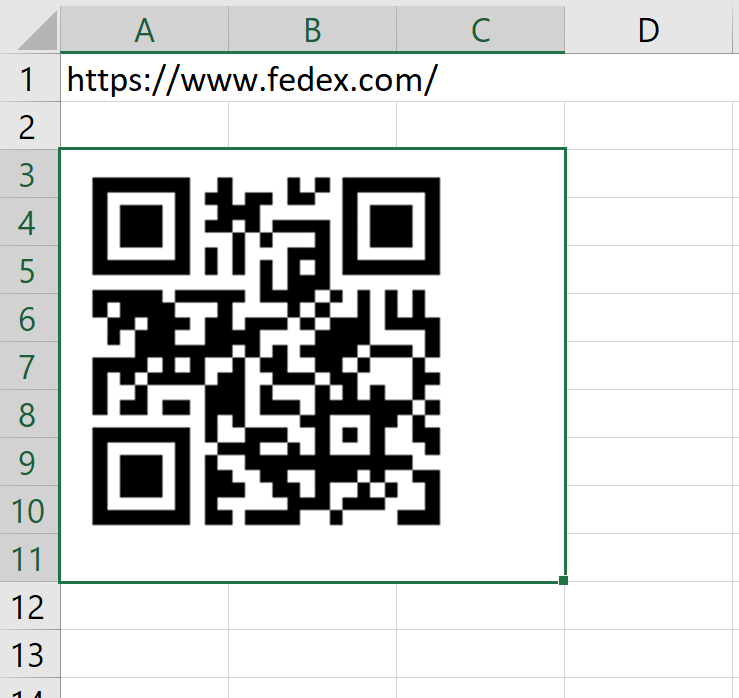
You can display QR codes directly in the web page using the QR code widget.
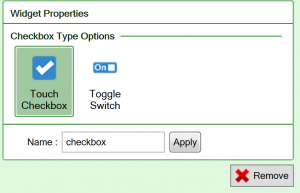
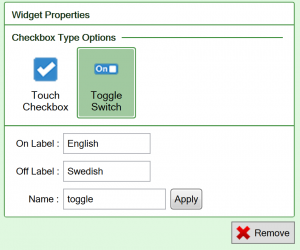
Use check boxes only for statements that must be either true or false, there is no room for doubt, like “British citizen”. The Toggle switch allows you to use any two other names for True and False, e.g. a language pair.

You insert a Check box widget by clicking the Check box widget in the Widgets tab in the task pane. A Check box will provide a true/false value that you can test for in other places in the form, or when the form is submitted for processing.
Radio buttons simulate the behavior of old car radios. When one of the buttons is pressed, the corresponding radio station (option) is selected. Simultaneously, all the other buttons pop out, leaving only the selected button in the pushed-in position.

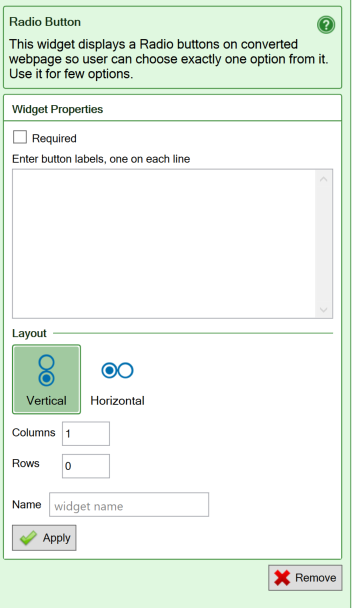
Radio buttons are used to select between a limited number of choices. The good thing about radio buttons is that you see all the available choices. The bad thing is that this may consume a lot of screen space. You insert a Radio buttons widget by clicking the Radio Button widget in the Widgets tab in the task pane. You can then set different properties for the Radio button widget:
Drop-down lists are used to select between a limited number of choices. The menu opens when you click on it. When you have made your choice, only the selected choice is visible.

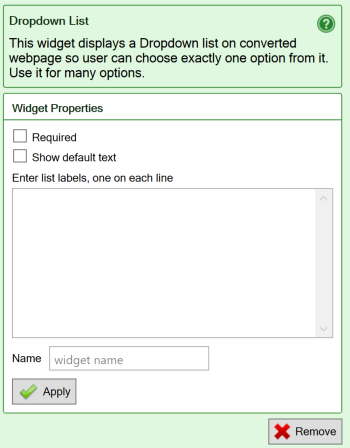
You insert a Dropdown list widget by clicking the Dropdown List widget in the Widgets tab in the task pane. List the labels in each line in the empty space. You can then set different properties for the Dropdown List:
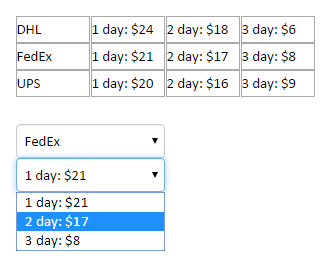
If you want the options in a dropdown menu taken from cells in the spreadsheet, learn more about the Dynamic Dropdown widget.
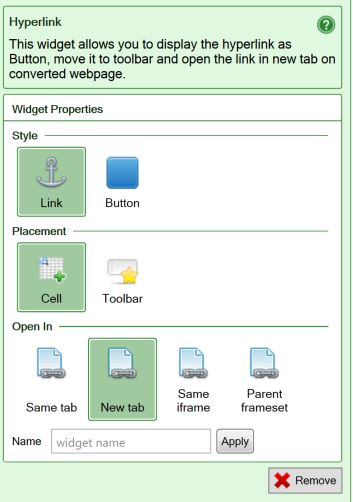
The Hyperlink widget allows you to easily insert links into the converted web page, either as text links or as buttons.

Any cell in your worksheet can contain a web address in the form of a Universal Resource Locator or URL:

Unfortunately, Excel considers this to be just plain text. Nothing will happen if you click on this cell. If you convert this spreadsheet to a web page, the URL is generated as plain text there too, and clicking on it will have no effect.
To turn a URL into a working link, you have to insert a hyperlink into the cell. Excel can optionally create a hyperlink automatically every time you enter a URL into a cell, and then the link itself is used also as the anchor text for the link. To use any anchor text you like in the link, you can use the Insert Hyperlink command:
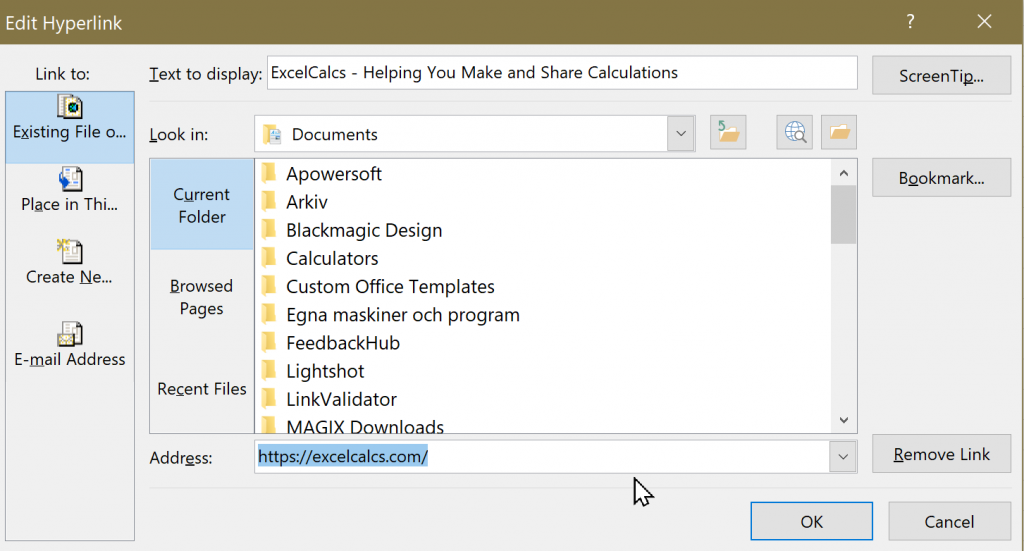
Notice that the anchor text, in the Text to display field, can be different from the link’s Address, when you use the Insert Hyperlink dialog to create the link. Users easily detect when a cell contains a hyperlink, because of its classic formatting in blue with an underline:

By default, SpreadsheetConverter preserves hyperlinks on the converted web page. The anchor text will be displayed and linked to the requested URL.
With Excel, a link can also be calculated with the
=HYPERLINK(Address, Text to display)
function. In this case, the Address portion of the link is assembled dynamically according to the formula you have specified. The URL may be determined conditionally using the IF function or the address assembled from other cells. The Address to use in a given situation can even be selected with the VLOOKUP function from a list of links. The Text to display operand of the Hyperlink function allows you to define the anchor text for the link.
=HYPERLINK("https://excelcalcs.com/","ExcelCalcs - Helping You Make and Share Calculations")
The Hyperlink widget provides a few additional useful features:
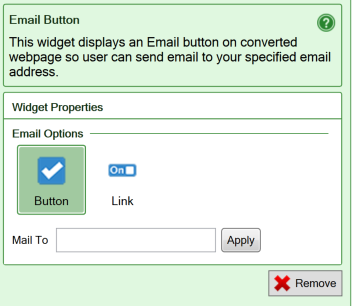
An E-mail Button converts to a mailto (“send an e-mail to this e-mail address”) hyperlink. When the button is pressed, the default e-mail client normally opens a new, empty e-mail with the provided e-mail address as the e-mail recipient. The user enters the Subject and Text for the e-mail, then clicks Send to send the e-mail.
Note that none of this functionality is provided by SpreadsheetConverter. It is up to the user’s web browser to handle mailto links. If the user’s web browser is not properly configured to handle mailto links, the results are unpredictable.

The contents of your web form or calculator will not be involved in the processing started by the E-mail Button widget. If you wish to submit the full contents of a form or calculator, configure the web form’s submit options.
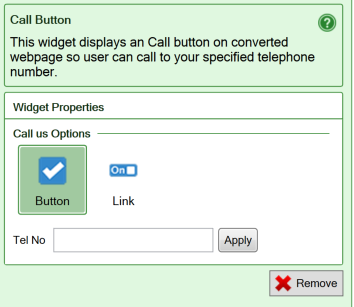
A Call Button converts to a tel (“initiate a telephone call to this number”) hyperlink. When the button is pressed, the device will initiate its normal behavior for tel hyperlinks, which usually is to make a telephone call to the number you have specified.
Note that none of this functionality is provided by SpreadsheetConverter. It is up to the user’s web browser to handle tel links. If the user’s web browser is not properly configured to handle tel links, the results are unpredictable.

The contents of your web form or calculator do not participate in the processing started by the Call Button widget, and nothing is sent to the designated telephone number.
The Update, Reset, Print and Submit buttons are normally available in the toolbar.

If you want to place an action button elsewhere, perhaps to simplify the user interface, action buttons can be inserted as widgets in any cell in the calculator.
The text on the buttons can be changed. Just type the text you want on the button into the cell where you place the widget.
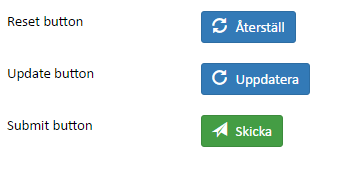
The Submit button sends the form to a web server for processing. Insert a Submit button at the end of your long form to save your users from having to scroll to the nearest toolbar.
For smaller calculators, SpreadsheetConverter automatically updates all cells in a spreadsheet if one of the values is changed, just like Excel does. For a very complex web calculator, you have the option of switching to manual updating of the calculator in the Recalculation method setting on the Workbook tab. In that case, an Update button is needed to manually initiate the updating of the spreadsheet.
You can place the Update button in any cell, perhaps right after your most commonly used input fields.
The Reset button clears all input fields in a form. It is rarely implemented, except in situations where a large number of fields contain values that never will be re-used. You can make the Reset button available where-ever users need it.
SpreadsheetConverter supports three printing operations:
If you initiate the print operation from the web browser with the Print menu option or the Ctrl-P keyboard shortcut, it corresponds to the Print operation in the list above.
For each Print operation, there is an action button that you can insert into any cell in the spreadsheet.
You can hide certain rows in your spreadsheet, and even entire worksheets, depending on the contents of a controlling cell.
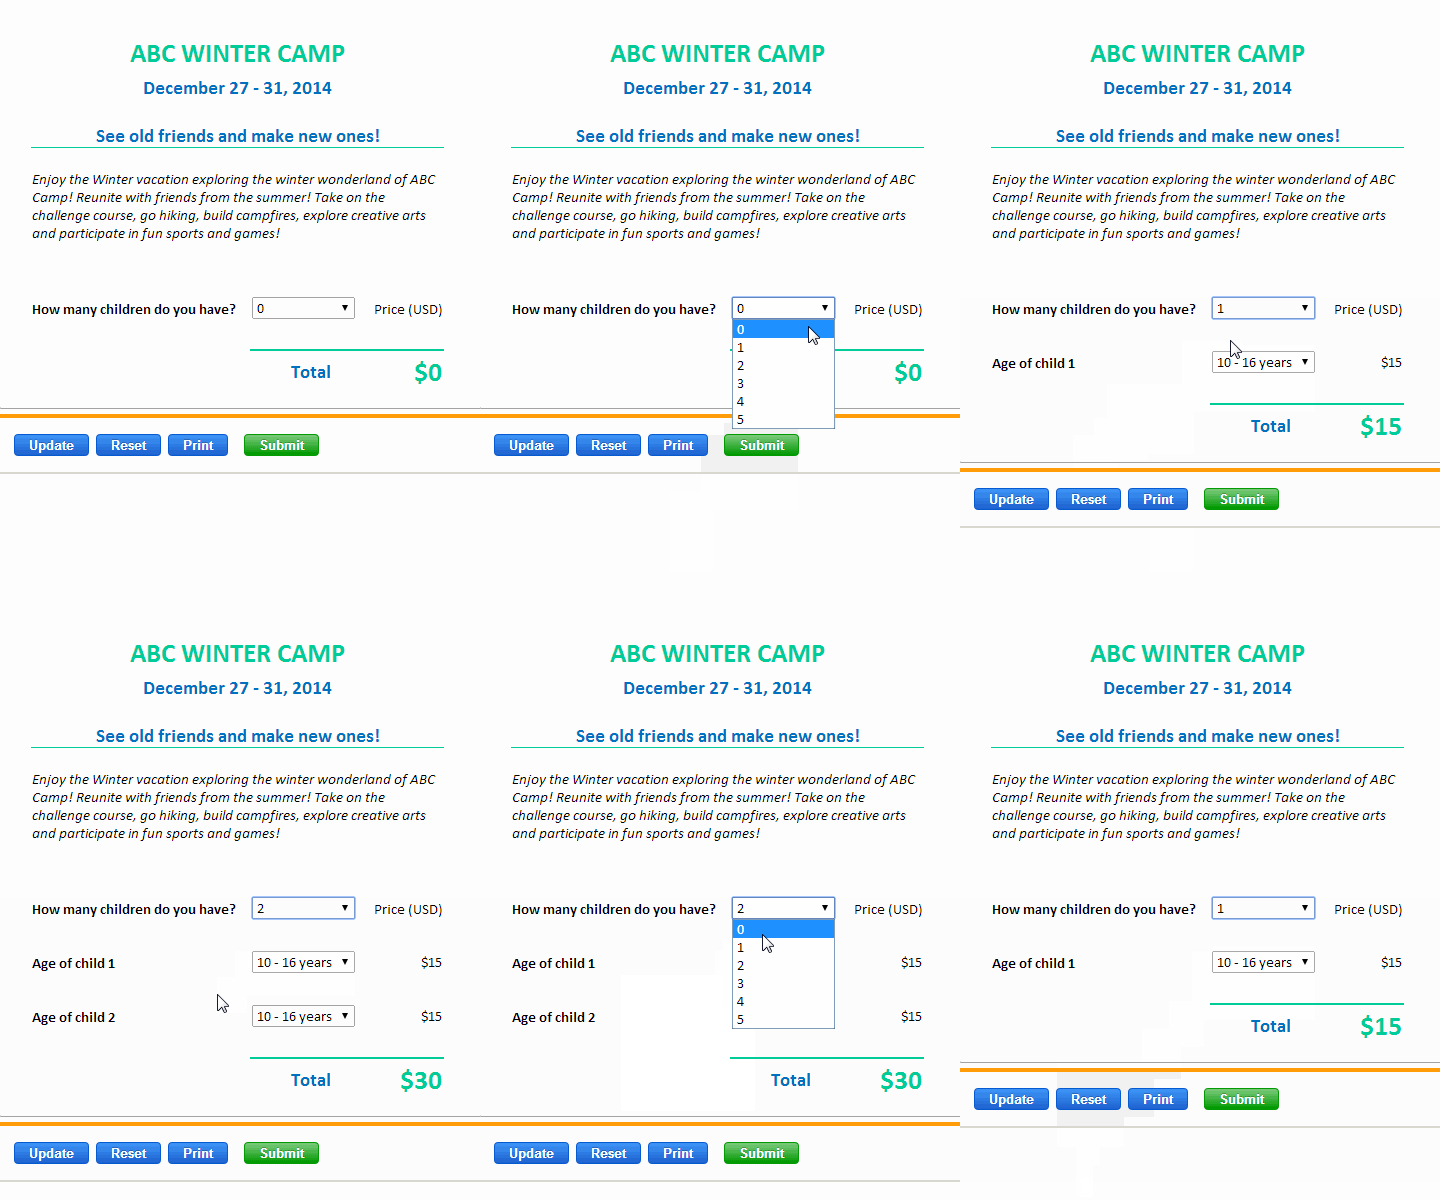
Responsive blocks allow you to dynamically adapt the layout of the converted web page to the screen width of any device.

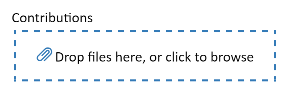
If your users want to include files with their form submissions, e.g. a CV with a job application or an image with an error report, add a File Attachments widget to your form.
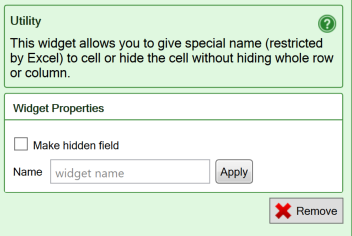
The Utility widget can be used to assign a name to a calculated cell, or to make it invisible.
You insert a Utility widget by clicking the Utility widget in the Widgets tab in the task pane. Utility cells in a form or calculator are always locked for user input in order to preserve the contents.
Some of our tutorials partly focus on the Utility widget: