The File Attachments widget lets your users include up to ten files with any form they submit.
This is the help page for the File Attachments widget.
To learn more about how you can create web forms with SpreadsheetConverter or have them sent to your e-mail inbox, please read the introduction to forms handling.
The File Attachments widget enables your visitors to include documents, charts, images, videos or any other kinds of files with their form submission. Job applicants can include their CV, and expense reports can include scanned copies of receipts. Users may even use their phone to take a picture and include this with the form.
Any form that you create with SpreadsheetConverter can have file attachments. In the spreadsheet, you insert the widget in a cell that should be wide enough to function well with drag-and-drop.

As the user selects files to include with the form, they are automatically uploaded. The widget shows a list of the files and allows already uploaded files to be removed.

When the form is submitted, the file attachments normally appear as attachments to the e-mail with the form contents.
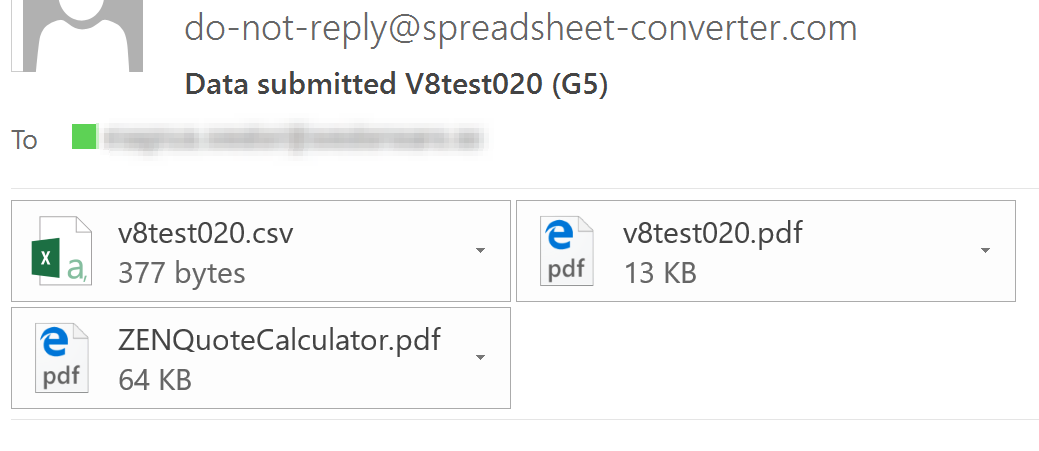
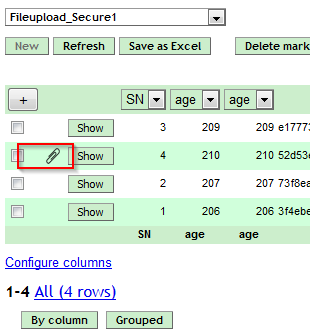
In the Advanced server, the file attachments appear as links from the submitted form.
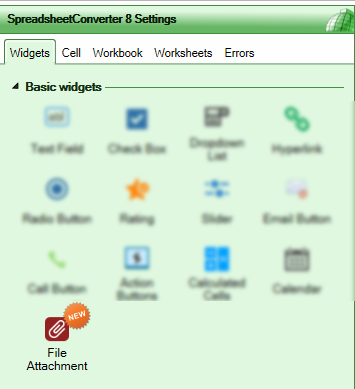
To use file attachments in a web form, you must insert a File Attachments widget in a cell in the spreadsheet that you use to design the form.
The File Attachments widget enables users to drag-and-drop files to the form, or click on the text link to select files from a list.
We recommend that you make the widget’s cell big enough to be comfortably used when dragging and dropping files from other windows. You can expand the cell’s area by widening the row and column, by merging adjacent cells, or both.
When you move the mouse pointer over the cell, the mouse pointer changes into hand sign, the text is underlined and a dashed line appears around the cell to show that the widget also lets you drag-and-drop files on it.

The widget lets visitors add up to ten files to any form. In most environments, you can add more than one file at a time.
To save time, the files automatically start to upload as you add them to the widget. There is a progress bar for each file to show how much of it has been uploaded. Until the upload has finished, the file name is faded.

To abort an upload, click on the red delete icon to the right of the file name.
Once the upload is finished, the progress bar goes away and the file name is not faded anymore. To remove an uploaded file, click on its red delete icon.
When the user saves the form, only the form contents remain to be sent. All the attached files have already been sent to the server and are linked to the form.
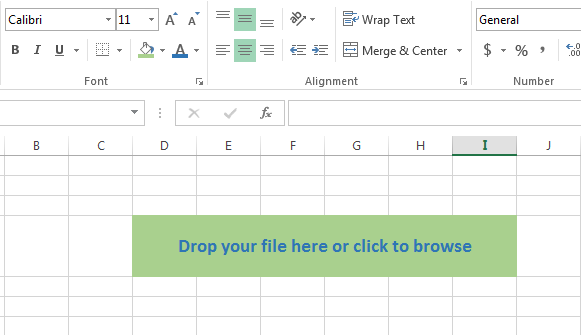
When you insert the widget into the cell, a default text “Drop your file here or click to browse” appears in the cell and the widget’s properties panel opens in the task pane.
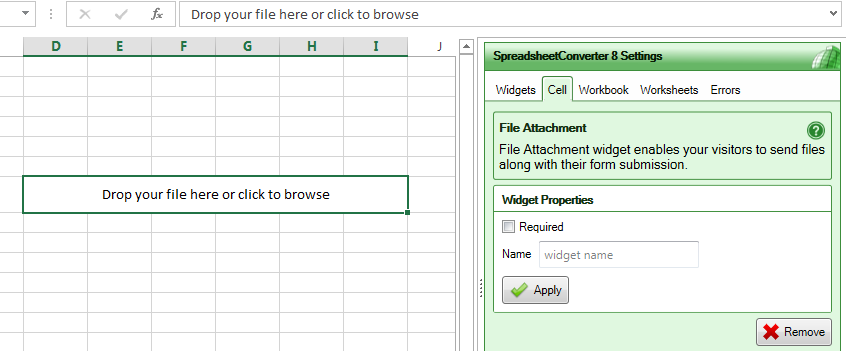
You can change the prompt or translate it to another language simply by editing the text in the cell.
If you select the Required check-box, all users of the form must attach at least one file before they can submit the form.
The text and cell formatting for the File Attachments widget is set using Format Cells in Excel. If you want to have the prompt aligned differently, e.g. centered both horizontally and vertically, adjust the Format Cells settings accordingly.
The cell will appear almost the same in the web page as in the spreadsheet:
but with a paperclip icon to the left of the text.
A few of the graphical elements used by the File Attachments widget are not managed by Excel, but you still have control over them using the Theme Designer.
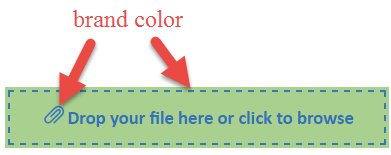
In Theme Designer, you can select a Brand color for your theme, and this is used for the paperclip icon, the file icons and the dashed line that appears around the field when you hold the mouse pointer over it. To apply the theme, download it from the Theme Designer and apply it with the Apply Theme setting on the Workbook tab in the SpreadsheetConverter Task Pane.
There are few parts which currently cannot change color. For example, the delete button is always red and the progress bar is always green.
When we attempt to deliver the form with its attachments to the designated recipients, the e-mail infrastructure may refuse to deliver it. This is because some e-mail servers limit the size of attachments and/or the entire e-mail. If the user of the web form has attached many large files to the form, the entire package may exceed the limitations imposed by the e-mail infrastructure.
The e-mail infrastructure is beyond our control and there is simply no way for us to guarantee that you will get all the e-mails we send you. The risk of losing e-mails increases when you use File Attachments.
If you use a form that permits File Attachments, we recommend that you use our Secure Delivery feature to have the e-mail contain just a link to the form instead of the form’s full contents with attachments. Clicking on the link in the Secure Delivery e-mail takes you to the server where you can login to access the form and its attachments securely.