SpreadsheetConverter automatically sends submitted web forms to any Inbox. The basic service is free. You enter the e-mail address in the Configure Submit options on the Workbook tab in the task pane.
You can build web forms that automatically get sent to your e-mail Inbox every time someone uses the form. For a small monthly fee, you can also have each submitted form stored in a hosted database for later retrieval. Read more about our Free and Advanced Submit Services.
When you create a web form, you need to specify to which e-mail address each submitted form is to be sent. There are also many other powerful options that let you tailor the forms submission process to your requirements.
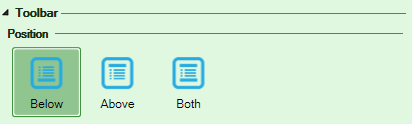
SpreadsheetConverter inserts a toolbar in the converted web page. The Toolbar position setting allows you to place the toolbar Below the spreadsheet, Above the contents of the page, or Both.
To completely remove the toolbar, unselect all the action buttons (see below).
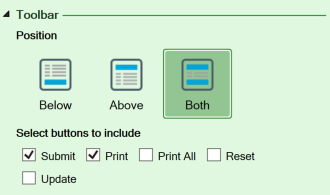
The toolbar can include a number of different action buttons. The most important one is Submit since this is the button that is used to send a completed form for processing. This checkbox must be checked for every electronic form.
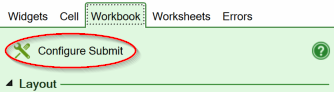
At the top of the Workbook settings, there is a button for configuration of the forms submission process, i.e. how completed forms should be forwarded for processing. Click on the button to open the Configure Submit window.

Enter the e-mail address to which you want completed forms to be sent.
If you just want a one-time demonstration of what an e-mail from the Advanced submit service looks like, select Demonstration. Instead of being sent to your Inbox, a copy of the e-mail will open directly in your web browser every time you submit a new form.
Select the Advanced submit service if you have a trial or paid license for it, or select the Free submit service that is included with your SpreadsheetConverter license. The main difference between the two is that the Advanced service stores each form in a database, and formats the e-mail you get for each form submission exactly like the web form, which makes processing the form a lot easier.
If you have a license for the Advanced service, select the Secure Delivery option if you want the e-mail to contain just a link to the received form. This protects the form contents and any file attachments behind an additional login, making the e-mail you receive for the form look like this:

We recommend that you always use Secure Delivery if you allow file attachments for the form. Otherwise, file attachments are included in the e-mail with the completed form, which may cause problems if the files are very large.
After a form has been submitted, a “Thank you” window is displayed. Like all other standard texts, you can change or translate the text in this window using the Configure Text setting described above.
If you want to provide a full thank-you-page of your own, e.g. to provide conversion tracking, enter its address in the After successful submit field. Click the button to the right of this field to verify that the address is correct; if it is, the page will open in your web browser.
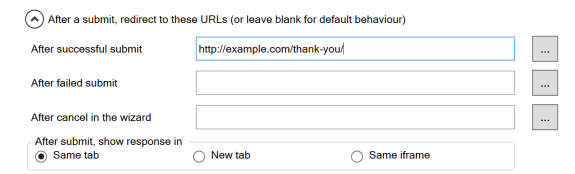
You can also provide your own handling of submissions where our server failed to receive or e-mail you the data. This can only happen when our server is stopped for some reason. The After failed submit link should point to a page that recommends the user to wait for ten minutes and then try again.
If a data entry wizard layout is used for a multi-sheet workbook, you can provide a Cancel button in the wizard that allows the user to leave the form without submitting it. In the After cancel in the wizard field, enter the address of the web page you want the user to arrive at after having pressed Cancel, e.g. a page where you attempt to convince the user to complete the survey anyway.
When forms are submitted, you will get one e-mail for each form. These e-mails will have a standard subject line, identifying each form with a sequence number.
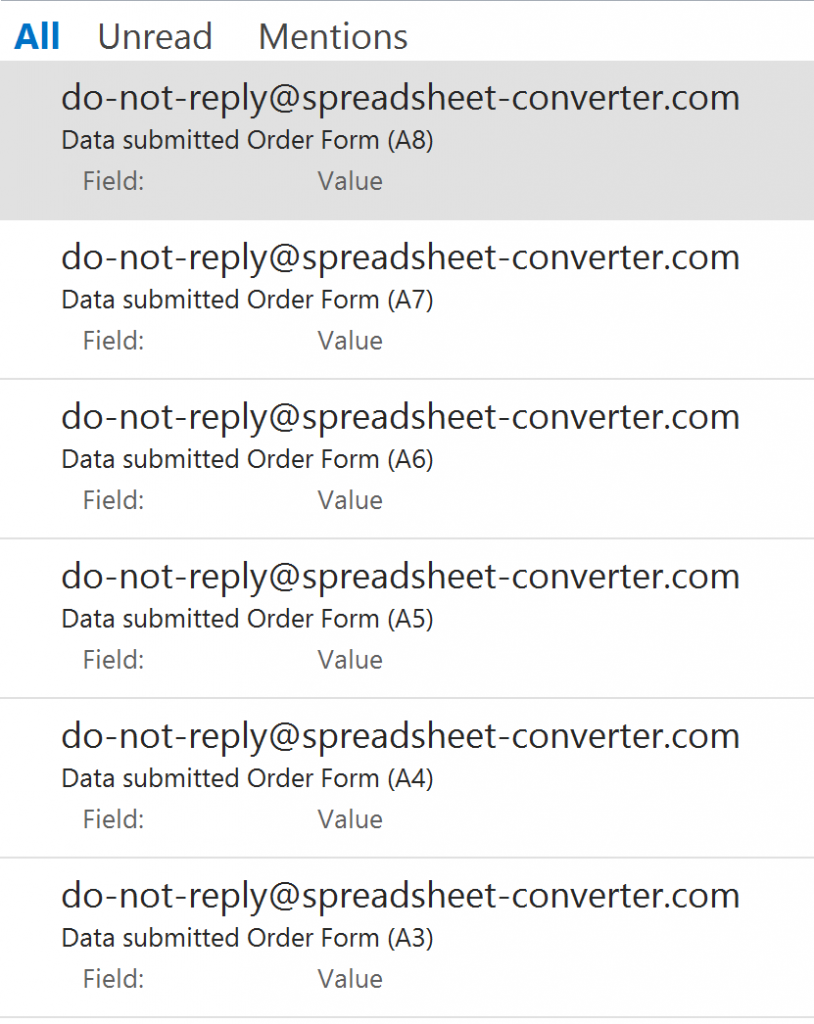
In many cases, it is much easier to find the right form among all the e-mails if you provide a better visual identification for the form, e.g.
To accomplish this you must first prepare the entire subject line you wish to use for each e-mail in a separate cell in the spreadsheet, using a formula like this:
=cust_name & " " & cust_city & " " & cust_street1
E-mail subject lines don’t have to be unique in any way, so it’s no problem if there will be several forms with the same subject. A customized subject line is probably much more useful than our standard sequence number anyway.
Assuming you have put the above formula in cell A8 of the spreadsheet, you can now use the Manage the email subject line setting to replace the standard e-mail subject with your own. Just click on the Select Cell button, then select cell A8 in Excel.
When you’re done, it will look something like this:

There is also a shorthand notation: just give cell A8 the reserved name subject to assign the same setting.
By default, each submitted form is sent to the Form Recipient, i.e. the e-mail address you entered into the Configure Submit settings above.
You can also send a copy of the submitted form to the person submitting the form – we call this the Form Submitter – or to any other e-mail address available in the spreadsheet. All you need to do is to designate a cell in the spreadsheet where the user is required to enter a valid e-mail address, and a copy of the submitted form will be sent also to the e-mail address in this field.
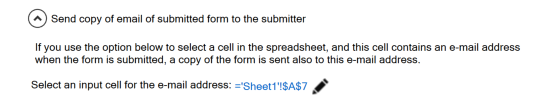
We recommend that you always use the Email widget for e-mail address fields since it automatically validates the syntax of the address and can make the field mandatory. As an example, if the submitter’s e-mail address is in cell A7 of the spreadsheet, you can now use this in the Send copy of email of submitted form to the submitter setting to provide an additional e-mail address. Just click on the Select Cell button, then select cell A7 in Excel.
When you’re done, it will look something like this:
There is also a shorthand notation: just give cell A7 the reserved name email to assign the same setting.
When a form contains an email field, it becomes easy for the person that submitted the form to communicate with the recipient, and vice versa.
If you prefer to use your own script to process each submitted web form, enter a link to that script in the URL field.

If a worksheet contains two input fields, “cust_name” and “cust_city”, the values in these two fields are appended to the link to your script, making it look like this:
http://example.com/sscform.php?xl_version=16.0.0&cust_name=Microsoft%20Corp&cust_city=Seattle
Data is encoded according to the HTTP Post standards, e.g. a space is represented as “%20”. Please contact our support department if you need help on how to decode the query string of an HTTP Post operation.
The following parameters will be available to your script in the query string:
Only the form fields that are open for input are sent to the script. If there are 22 input fields in a form, there will be 22 name-value-pairs in the query string of the link to your script, plus one for the xl_version.
If you intend to use this feature, you should assign names to all the input cells in the form. Otherwise, SpreadsheetConverter has to refer to cells with an internal Excel coding that is based on the rows and columns of the original spreadsheet. Please contact our support department if you need help decoding this format.
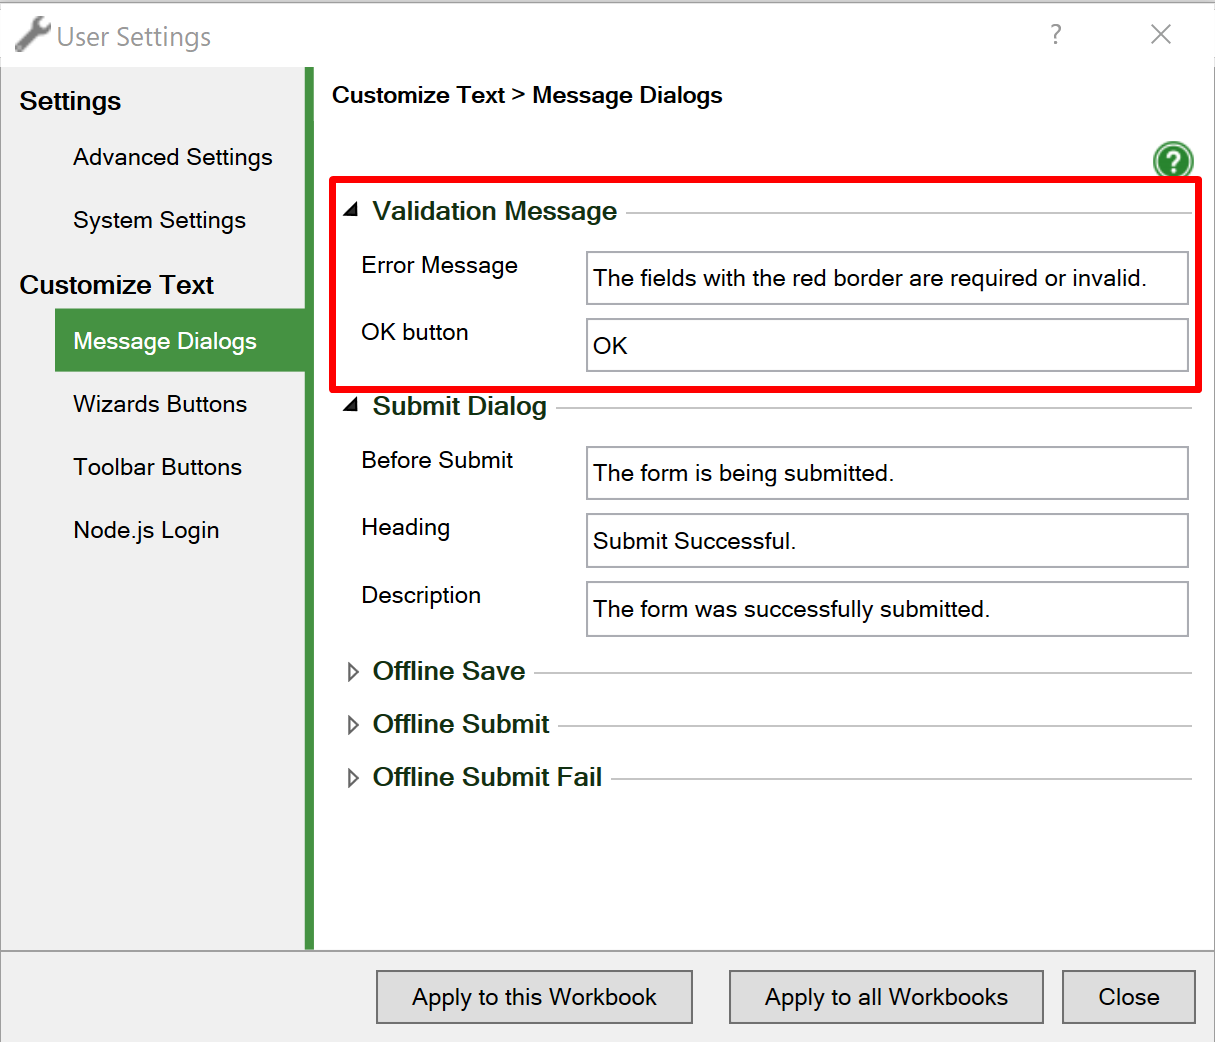
When a user presses the Submit button, all the form field are validated against the rules set for them, either in widget definitions or using Excel’s Data Validation. If one or more fields don’t pass this validation, they will get a red border and a message is issued. This message can be translated in the User Settings > Customize Text.
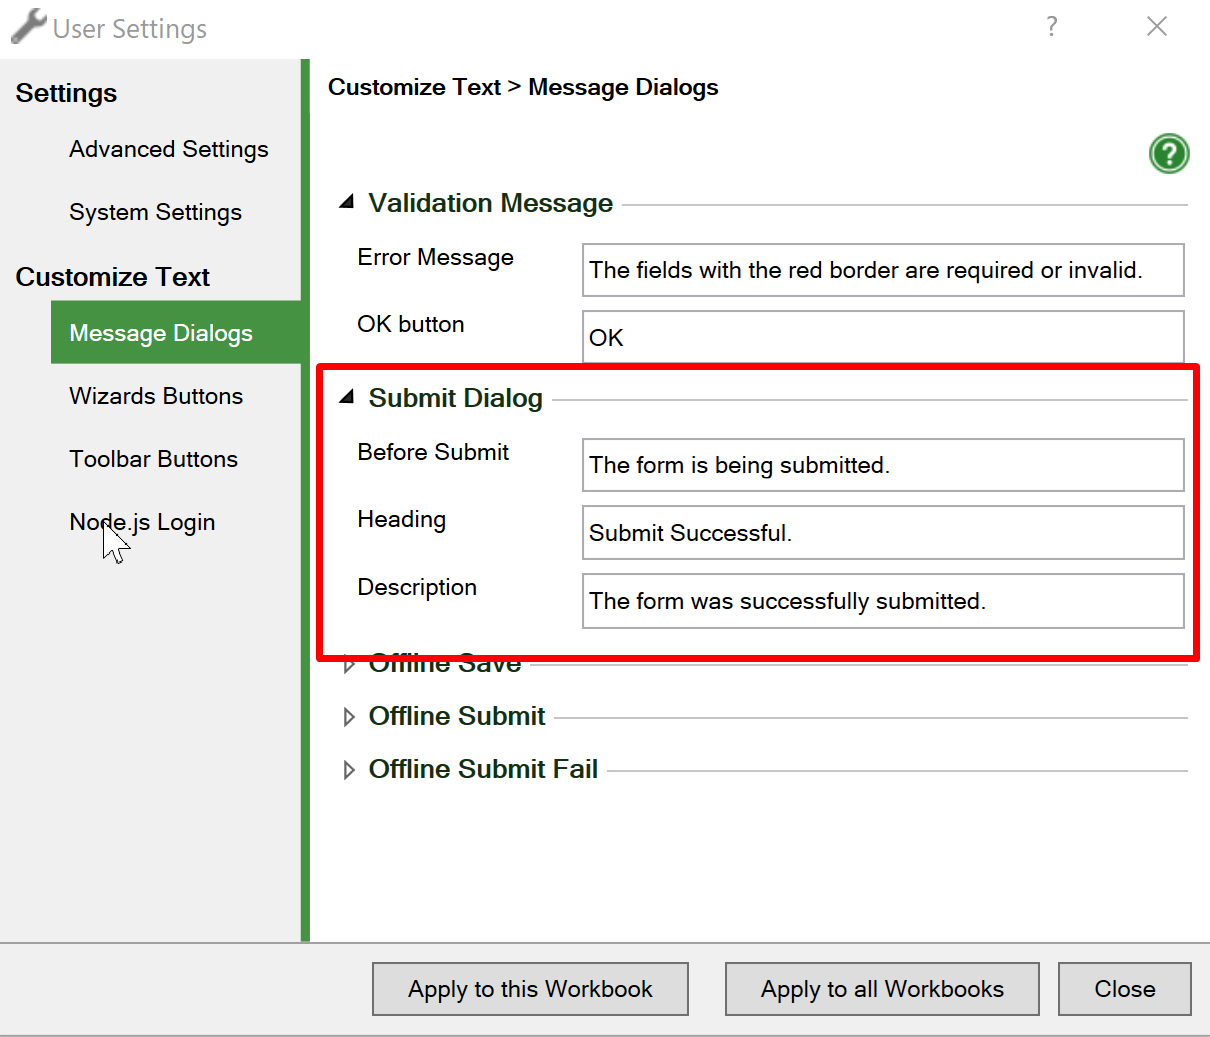
When the submit is valid, a message box will say that the new form is being queued for processing and then confirms that the submit operation was successful. These messages can also be translated in the User Settings > Customize Text.
The text for the Submit button itself can be translated. If your form uses a standalone Submit button in a cell, it will get its text from the cell itself.
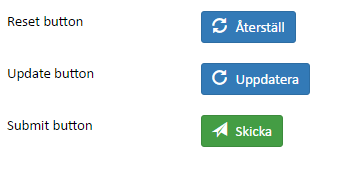
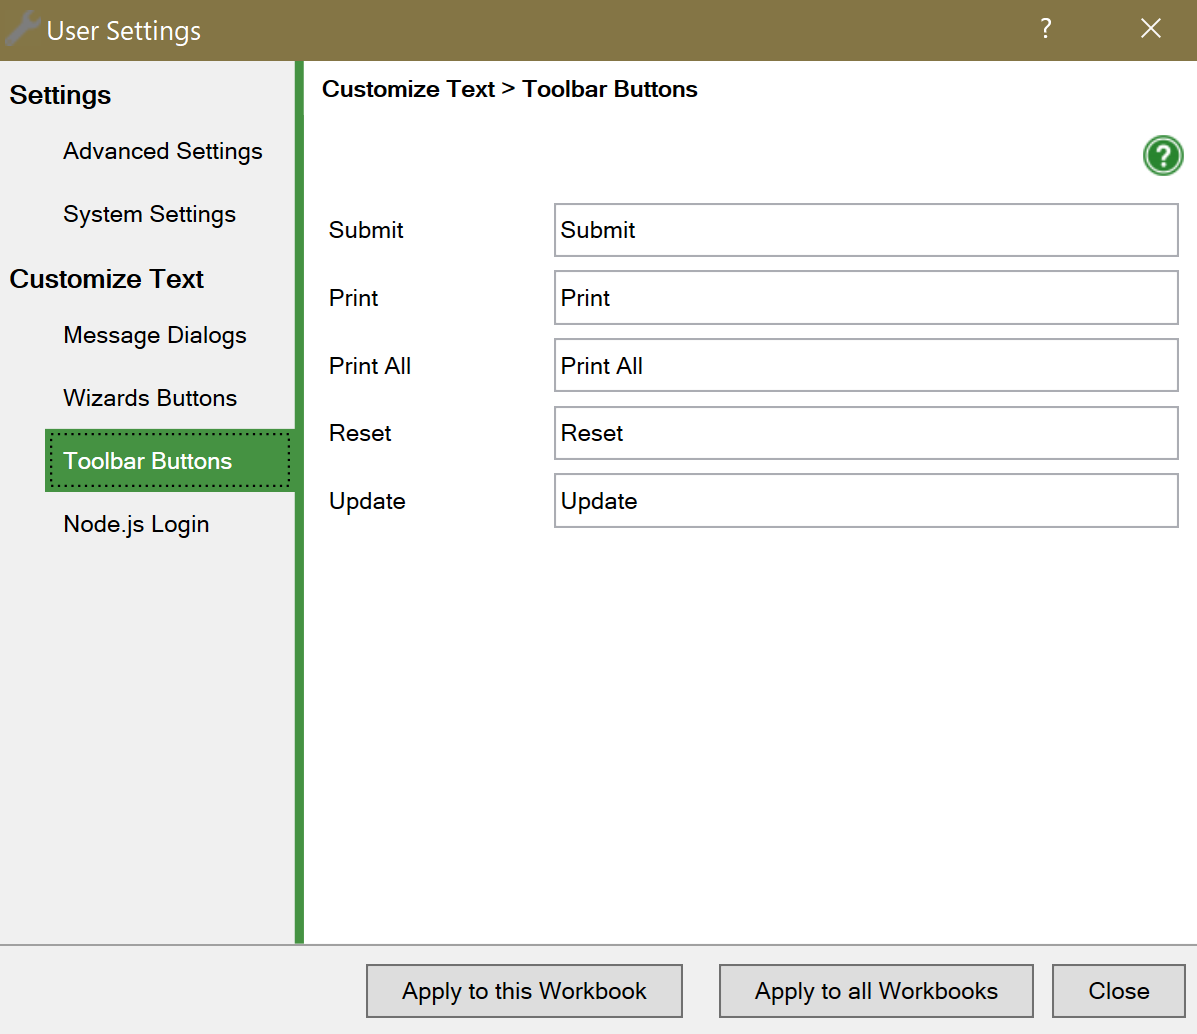
If the Submit button is in the toolbar, the text for this and the other buttons can be translated in the User Settings > Toolbar Buttons.
Our form solutions provide lots of added value:
Read more in the tips and tricks section.
Some of our tutorials partly focus on the Configure Submit settings:
Sending electronic forms from a web browser to a web server and then on to an e-mail client has a few known issues.


Click on Download to install and test this Excel add-in for Windows.
Click on Upload to let us convert a spreadsheet for you for free.