Some forms are so long or complicated that they need to be split into two or more separate sections. SpreadsheetConverter provides several different ways to work with such forms.
SpreadsheetConverter has many different ways to handle multi-sheet workbooks:
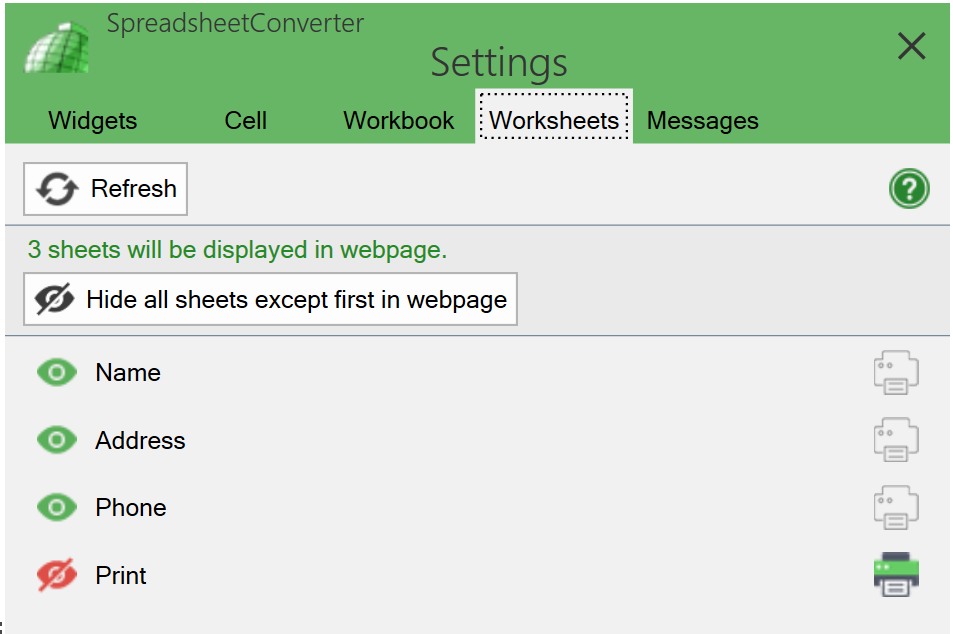
To work with more than one worksheet in a workbook, you must first make all the required worksheets visible in the converted web page. Hiding worksheets is done in the Worksheets tab in the task pane.
By default, SpreadsheetConverter shows only the active worksheet. If your spreadsheet contains more than one worksheet, click to make the “eye” symbol green to make the corresponding worksheets visible in the converted web page.

The Listview layout is only used for small screens when converting with the iPhone/Android flavor, and contains a list of the worksheets on the web page. The user scrolls to a sheet and clicks on it to view it. Any worksheet can be viewed at any time.

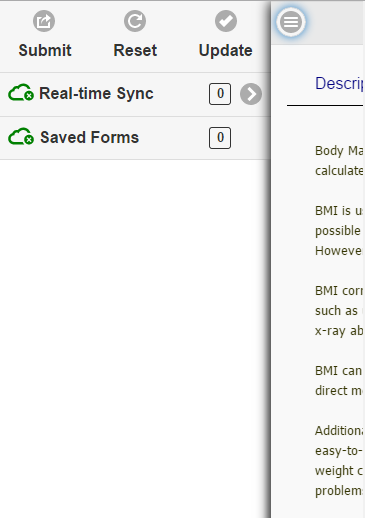
If the workbook is used as a multi-section form, it can be submitted for processing by pressing the Submit button on the Side menu.

With a Tabs layout, SpreadsheetConverter generates a row of links at the top of the web page, with one link for each worksheet. Clicking on the Delivery or Billing link below takes you to the corresponding worksheet. The user can view any worksheet at any time.

If the workbook is used as a multi-section form, it can be submitted for processing by pressing the Submit button in the toolbar.
Choosing a wizard layout creates a sequential data entry wizard to guide the user through the various sections of the form. The user advances from each section to the next using a Next button.

The Previous button returns to preceding section of the form. Finish bypasses all remaining steps and immediately submits the form.
You can add a Cancel button that allows the user to exit from the wizard without submitting the form. To add a Cancel button, specify an URL for After Cancel in the wizard in the Workbook > Configure Submit settings.
All the button names can be modified in Preferences > Customize Texts.
So-called breadcrumbs appear at the bottom of the toolbar to give users a way to keep track of their location within the wizard (the term comes from the trail of breadcrumbs left by Hansel and Gretel in the popular fairytale).
Panels enable the user to view one or more worksheets simultaneously. The user can switch between sections of the form at will, or work with two or more sections at the same time.
In the example below, both the Products and Billing worksheets are visible at the same time.

A form created with panels can be submitted at any time by pressing the Submit button.
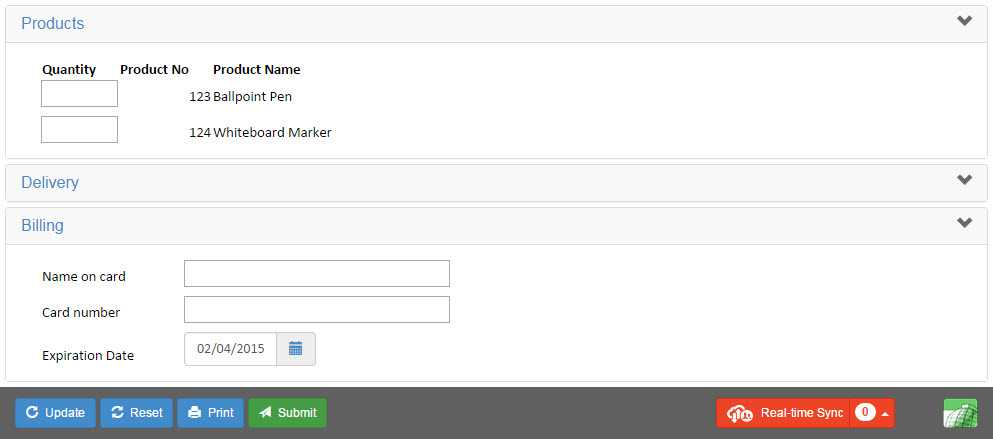
With an accordion layout, only one section of the form is visible while the rest of the form is hidden. Clicking on the Products panel displays the Products worksheet.

Clicking on the Delivery panel closes the Products panel and opens the Delivery worksheet.

Forms created with an accordion layout are submitted with the Submit button.