When you convert an Excel spreadsheet to web format and upload it to WordPress you can embed it in one or more web pages and it will work like in Excel.
Before you embed a spreadsheet in WordPress you convert it to web format with SpreadsheetConverter. Then you use a special plugin in WordPress to upload the SSC Calculator file you get as a result of the conversion. If you haven’t yet converted the spreadsheet or uploaded it to WordPress you need to start over from the beginning.
Now, it’s time to embed the calculator in one or more web pages. The steps are a little different, depending on what WordPress editor you are using.
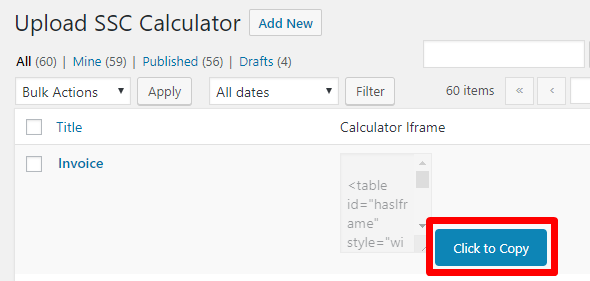
In WordPress, click on the Upload SSC Calculator link in the menu.
In the list of calculators, locate the calculator you want to embed. In the column Calculator iframe, click on the Click to Copy button for the calculator you want to embed. This copies the complete embed code to the clipboard.
Open the Block editor for the page or post where you want the uploaded calculator to appear.
Click on the plus sign to insert a new block. Type “html” in the search box and select to insert a Custom HTML block. To move the Custom HTML block to the correct position on the page, drag it using the handle on the left-hand side or use the up/down arrows.
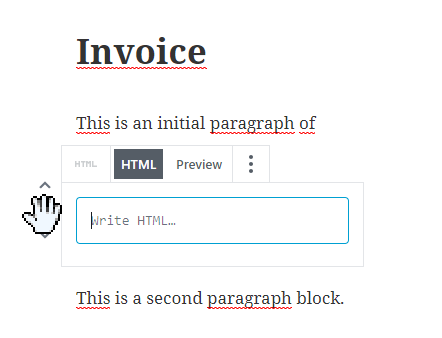
Select the HTML view for the Custom HTML block. Paste the embed code HTML into the Custom HTML block with Ctrl+V or right mouseclick+Paste.
Select the Preview view for the block.
By default, SpreadsheetConverter adds a toolbar at the bottom of the online spreadsheet. If you want to remove the toolbar, follow the instructions at the bottom of this page.

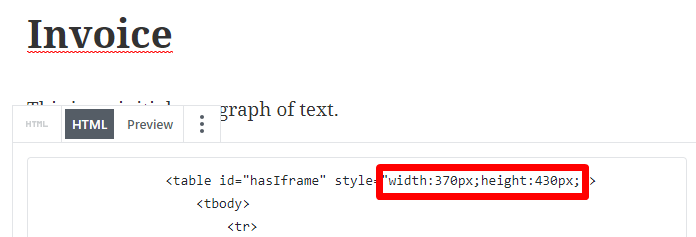
If you cannot see the entire calculator, or if scrollbars appear, or if there’s too much whitespace around the calculator, you may need to adjust the size of the iframe. Select the HTML view for the Custom HTML block, adjust the height and width parameters in the <table id=”hasIframe” tag that represents the calculator, switching back and forth to the Preview tab until the calculator looks good. Don’t be afraid of leaving a considerable margin around the calculator.
Save your changes by clicking Publish.
To move the Custom HTML block to the correct position on the page, drag it using the handle on the left-hand side or use the up/down arrows.
If a calculator does not immediately appear on the web, it may be a result of caching. Caching introduces a delay of typically 1-48 hours in the publishing of new or updated content. Read more in the support guide.
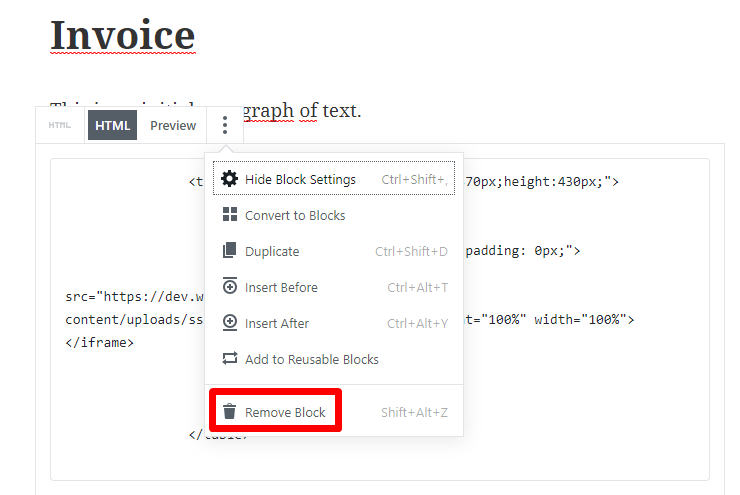
To remove a calculator that you previously embedded in page or post:
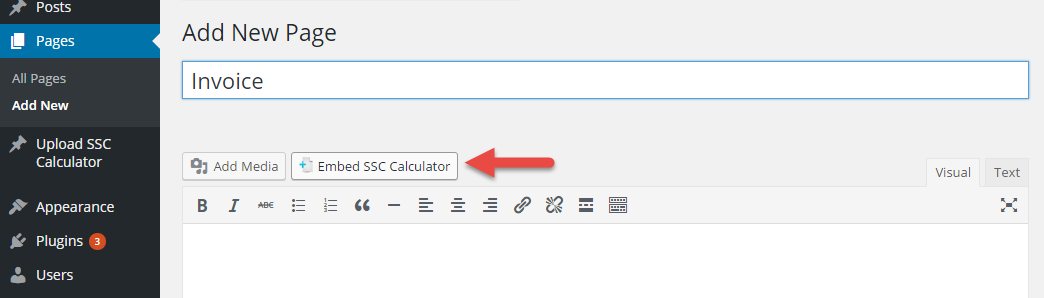
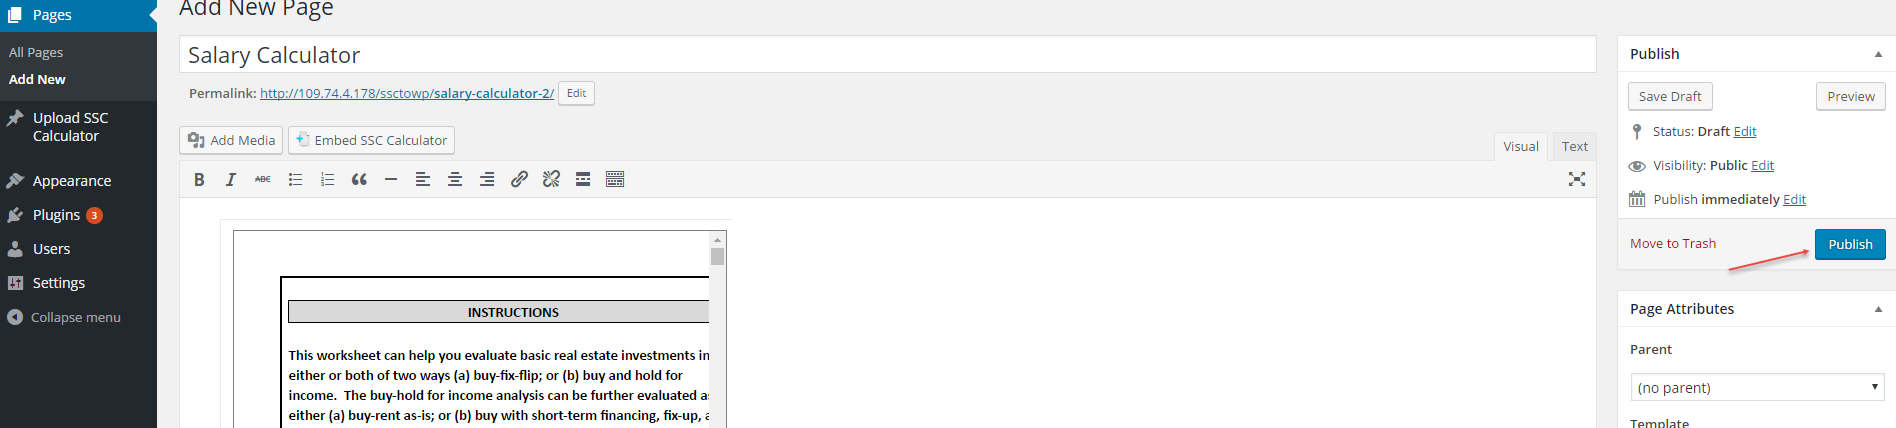
Open the Classic editor for the page or post where you want the uploaded calculator to appear.
Place the cursor at the right spot and click Embed SSC Calculator.
In the list called Calculator Link, scroll to and select the calculator you want to embed.
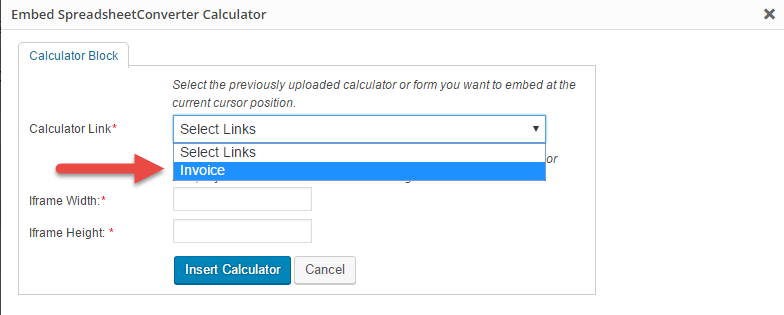
If necessary, modify the size of the calculator frame in the web page using the fields Iframe Width and Iframe Height. Click Insert Calculator.

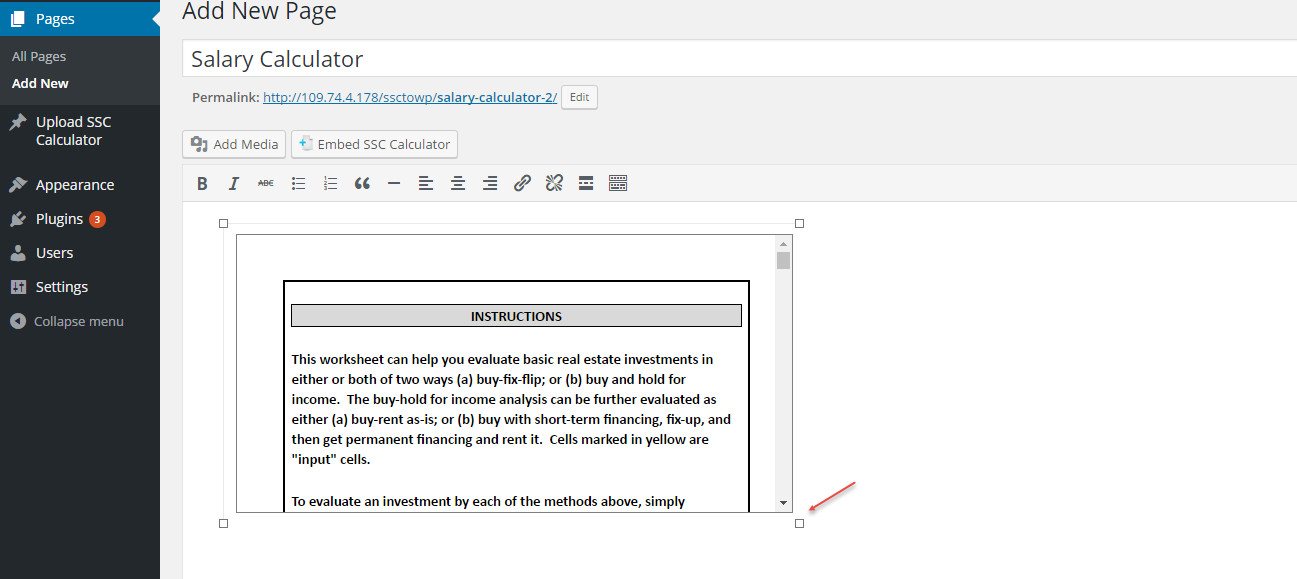
If you don’t see the calculator, only a set of HTML tags, click on the Visual tab for a preview of the page.
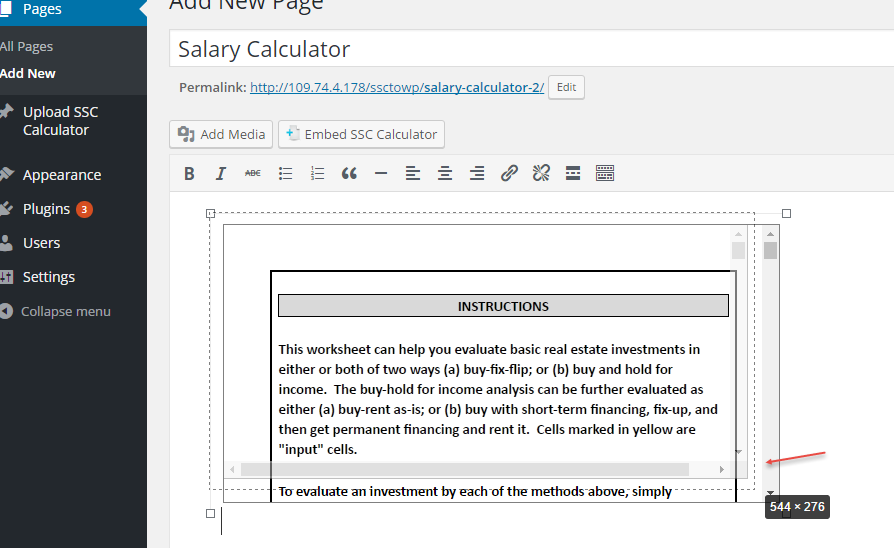
If you cannot see the entire calculator, or if scrollbars appear, or if there’s too much whitespace around the calculator, you may need to adjust the size of the calculator frame. On the Visual tab, locate the resize handle at the lower right-hand corner of the calculator.
Drag the handle to resize the calculator frame.
For better control, switch to the Text tab, adjust the height and width parameters in the <table id=”hasIframe” tag that represents the calculator, switching back and forth to the Visual tab until the calculator looks good. Continue until the calculator looks good. Don’t be afraid of leaving a considerable margin around your calculator.
Save your changes by clicking Publish.
To move the calculator somewhere else, e.g. at the bottom of the page, first remove the old embed code using the instructions below, then insert the embed code again where you want the calculator to appear using the instructions above.
If a calculator does not immediately appear on the web, it may be a result of caching. Caching introduces a delay of typically 1-48 hours in the publishing of new or updated content. Read more in the support guide.
To remove a calculator that you previously embedded in page or post:
If you don’t want the calculator to include a toolbar, or if you want to select other buttons for the toolbar, you need to adjust the Workbook settings in SpreadsheetConverter. To remove the toolbar, unselect all buttons in the Workbook > Toolbar section.
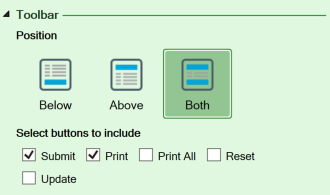
To remove the toolbar, you must also unselect Enable Real-time Sync in Workbook > Web Page Options.
![]()
Convert the spreadsheet again and update it in WordPress.
If you want to use an uploaded calculator on more than one page, just insert the embed code once for every page where you want it to appear.
Note that by default, each time you embed a form or calculator it will be a unique, independent copy of it. As an example, you may want to add an order form to any page on your website. Any changes you make to the order form on “page A” will not be visible on “page B”, because the two forms are independent. If you want to connect them to show the same order form on two or more pages you may want to read more about the Real-time Sync feature in the “sign-up form” tutorial.
When you create a web form it always appears left-adjusted. If you want to right-adjust it and place text to the left of the form, you need to create a two-column layout for your page. Search the web for wordpress tutorial two columns to get help on how you create a two-column layout first, then move the <iframe> to the correct location in your two-column design.
Still having problems? Try our support guide for the WordPress plugin.